Crossstoney (talk | contribs) (Rag Mega Location (I'll Try To Add Bosses To The Dank Depths Section Soon If Possible)) |
Crossstoney (talk | contribs) (Added Locations for Bosses for the 3rd Floor. May Try To Do 4th Floor If Possible (Oh Boy...)) |
||
| Line 289: | Line 289: | ||
===[[Dank Depths]] {{dlc|a}}=== |
===[[Dank Depths]] {{dlc|a}}=== |
||
{| style="width:70%; align:left padding-right:2em" |
{| style="width:70%; align:left padding-right:2em" |
||
| ⚫ | |||
| ⚫ | |||
| ⚫ | |||
| ⚫ | |||
| + | | style="text-align: center; border: none" |[[File:Boss_War.png|center|link=War]] |
||
| style="text-align: center; border: none" |[[File:Boss_Brownie.png|center|link=Brownie]] |
| style="text-align: center; border: none" |[[File:Boss_Brownie.png|center|link=Brownie]] |
||
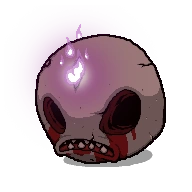
| + | | style="text-align: center; border: none" |[[File:Boss Sisters Vis.png|center|link=Sisters Vis]] |
||
|- |
|- |
||
| + | | style="text-align: center; border: none" |[[Monstro II]] |
||
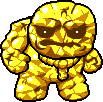
| + | | style="text-align: center; border: none" |[[Gish]] |
||
| + | | style="text-align: center; border: none" |[[The Adversary]] |
||
| + | | style="text-align: center; border: none" |[[Loki]] |
||
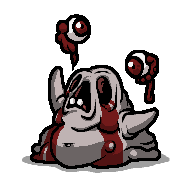
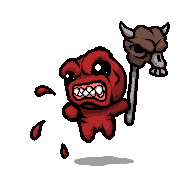
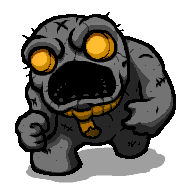
| + | | style="text-align: center; border: none" |[[War]] |
||
| style="text-align: center; border: none" |[[Brownie]] {{dlc|a}} |
| style="text-align: center; border: none" |[[Brownie]] {{dlc|a}} |
||
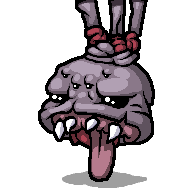
| + | | style="text-align: center; border: none" |[[Sisters Vis]] {{dlc|a+}} |
||
| + | |||
|} |
|} |
||
===Floor 2=== |
===Floor 2=== |
||
| Line 307: | Line 320: | ||
| style="text-align: center; border: none" |[[File:Boss_Mr._Fred.png|center|link=Mr. Fred]] |
| style="text-align: center; border: none" |[[File:Boss_Mr._Fred.png|center|link=Mr. Fred]] |
||
| style="text-align: center; border: none" |[[File:Boss_Scolex.png|center|link=Scolex]] |
| style="text-align: center; border: none" |[[File:Boss_Scolex.png|center|link=Scolex]] |
||
| + | | style="text-align: center; border: none" |[[File:Boss_Teratoma.png|center|link=Teratoma]] |
||
|- |
|- |
||
| style="text-align: center; border: none" |[[Mr. Fred]] |
| style="text-align: center; border: none" |[[Mr. Fred]] |
||
| style="text-align: center; border: none" |[[Scolex]] |
| style="text-align: center; border: none" |[[Scolex]] |
||
| + | | style="text-align: center; border: none" |[[Teratoma]] |
||
|} |
|} |
||
| Line 315: | Line 330: | ||
{| style="width:70%; align:left padding-right:2em" |
{| style="width:70%; align:left padding-right:2em" |
||
| style="text-align: center; border: none" |[[File:Boss_Mama_Gurdy.png|center|link=Mama Gurdy]] |
| style="text-align: center; border: none" |[[File:Boss_Mama_Gurdy.png|center|link=Mama Gurdy]] |
||
| ⚫ | |||
|- |
|- |
||
| style="text-align: center; border: none" |[[Mama Gurdy]] |
| style="text-align: center; border: none" |[[Mama Gurdy]] |
||
| ⚫ | |||
|} |
|} |
||
===The Womb and Utero=== |
===The Womb and Utero=== |
||
| Line 324: | Line 337: | ||
| style="text-align: center; border: none" |[[File:Boss_Blastocyst.png|center|link=Blastocyst]] |
| style="text-align: center; border: none" |[[File:Boss_Blastocyst.png|center|link=Blastocyst]] |
||
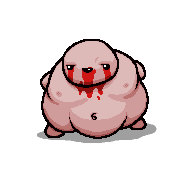
| style="text-align: center; border: none" |[[File:Boss_The_Bloat.png|center|link=The Bloat]] |
| style="text-align: center; border: none" |[[File:Boss_The_Bloat.png|center|link=The Bloat]] |
||
| − | | style="text-align: center; border: none" |[[File: |
+ | | style="text-align: center; border: none" |[[File:Boss_Lokii.png|center|link=Lokii]] |
|- |
|- |
||
| style="text-align: center; border: none" |[[Blastocyst]] |
| style="text-align: center; border: none" |[[Blastocyst]] |
||
| style="text-align: center; border: none" |[[The Bloat]] |
| style="text-align: center; border: none" |[[The Bloat]] |
||
| style="text-align: center; border: none" |[[Daddy Long Legs]] |
| style="text-align: center; border: none" |[[Daddy Long Legs]] |
||
| + | | style="text-align: center; border: none" |[[Lokii]] |
||
| + | |||
|} |
|} |
||
{| style="width:70%; align:left padding-right:2em" |
{| style="width:70%; align:left padding-right:2em" |
||
| ⚫ | |||
| style="text-align: center; border: none" |[[File:Boss_Triachnid.png|center|link=Triachnid]] |
| style="text-align: center; border: none" |[[File:Boss_Triachnid.png|center|link=Triachnid]] |
||
| style="text-align: center; border: none" |[[File:Boss_Death.png|center|link=Death (Boss)]] |
| style="text-align: center; border: none" |[[File:Boss_Death.png|center|link=Death (Boss)]] |
||
|- |
|- |
||
| ⚫ | |||
| style="text-align: center; border: none" |[[Triachnid]] |
| style="text-align: center; border: none" |[[Triachnid]] |
||
| style="text-align: center; border: none" |[[Death (Boss)|Death]] |
| style="text-align: center; border: none" |[[Death (Boss)|Death]] |
||
Revision as of 20:34, 6 June 2018
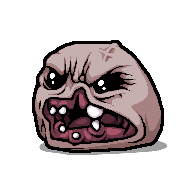
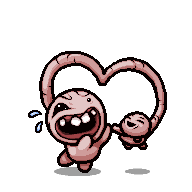
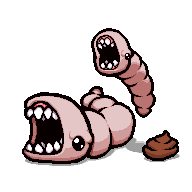
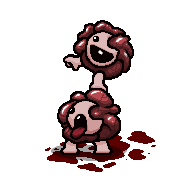
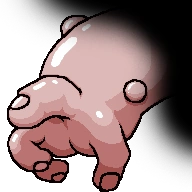
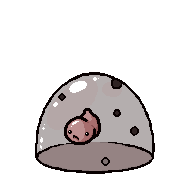
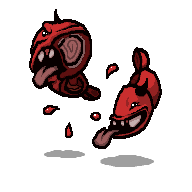
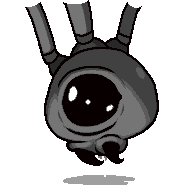
Bosses are very strong monsters found in boss rooms at the end of a floor. The boss at the end of the floor must be defeated in order to advance to the next floor. In later chapters, bosses are able to spawn as normal enemies. This starts in the caves, where the Gurglings are often encountered. The boss for a particular floor is chosen from the pool of bosses for the environment of the floor. Bosses may also spawn as champions, which can change various attributes such as health, damage, and attack pattern. Upon defeat, most bosses will drop an item from the boss item pool.
Bosses boast additional resistances to status effects. For example, fear occurs less often and the Night Light is unable to slow them down.
Additionally, some floors may spawn a room with a Mini-Boss.
In total, there are 72 bosses and 18 mini-bosses. 10 bosses were added in Afterbirth and 6 were added in Afterbirth †.
Chapter 1
The Basement
|
|
 |
| Monstro | Gemini | Larry Jr. |
 |
 |
|
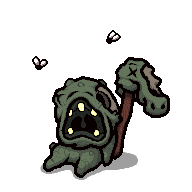
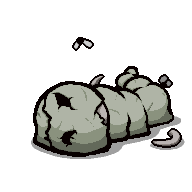
| Dingle | Gurglings | Steven |
The Cellar
|
 |
 |
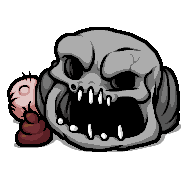
| Pin | Widow | Blighted Ovum |
 |
|
 |
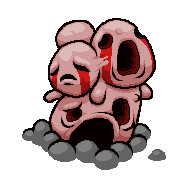
| Fistula | Gurdy Jr. | The Haunt |
The Basement and The Cellar
 |
 |
 |
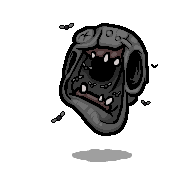
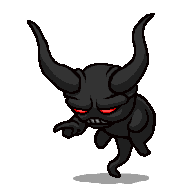
| The Duke of Flies | Famine | Rag Man |
 |
 |
 |
| Little Horn |
Dangle |
Turdlings |
Burning Basement 
|
|
|
| Rag Man |
Little Horn |
Dangle |
|
| Turdlings |
Chapter 2
The Caves
 |
 |
 |
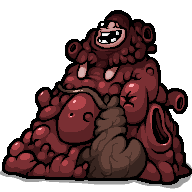
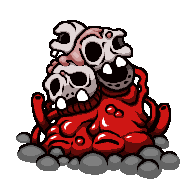
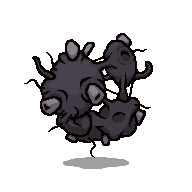
| Chub | Gurdy | Mega Maw |
 |
 |
| Mega Fatty | C.H.A.D. |
The Catacombs
 |
 |
 |
| The Hollow | The Husk | Dark One |
 |
 |
 |
| Polycephalus | Carrion Queen | The Wretched |
The Caves and The Catacombs
 |
|
 |
| Peep | Gurdy Jr. | Pestilence |
 |
 |
 |
| The Frail |
The Stain |
The Forsaken |
 |
 |
| Big Horn |
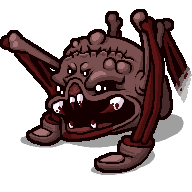
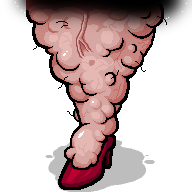
Rag Mega |
Double Trouble
|
|
|
| (Double Trouble) | (Double Trouble) | (Double Trouble) |
|
|
|
| (Double Trouble) | (Double Trouble) | (Double Trouble) |
|
|
|
| (Double Trouble) | (Double Trouble) | (Double Trouble) |
Flooded Caves
|
|
|
| The Frail |
The Stain |
The Forsaken |
|
|
| Big Horn |
Rag Mega |
Chapter 3
Floor 1
The Depths
 |
 |
 |
 |
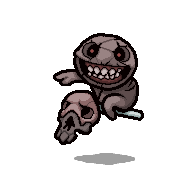
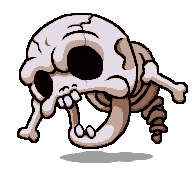
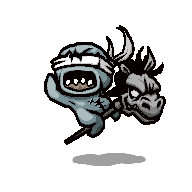
| The Cage | Monstro II | The Gate | Gish |
Necropolis
 |
 |
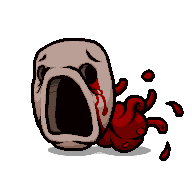 |
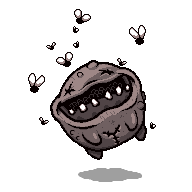
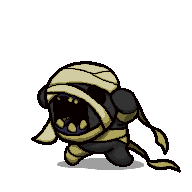
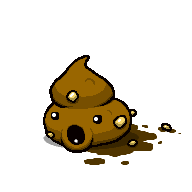
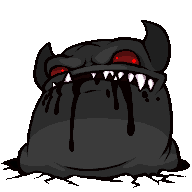
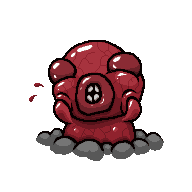
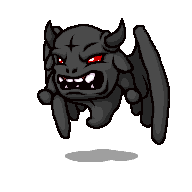
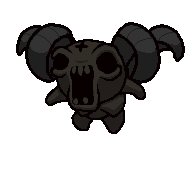
| The Adversary | The Bloat | Mask of Infamy |
The Depths and Necropolis
 |
 |
 |
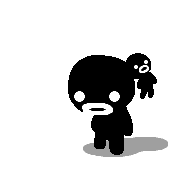
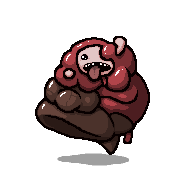
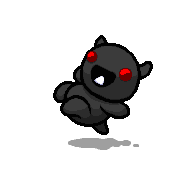
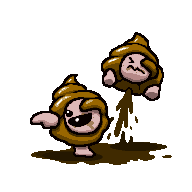
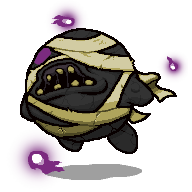
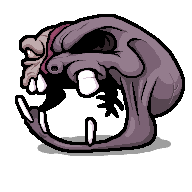
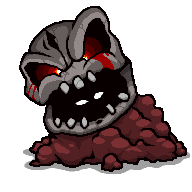
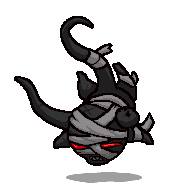
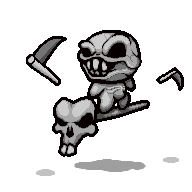
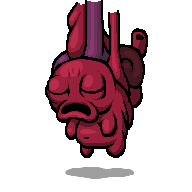
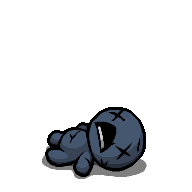
| Loki | War | Brownie |
 |
| Sisters Vis |
Double Trouble
|
|
|
|
| (Double Trouble) | (Double Trouble) | (Double Trouble) | (Double Trouble) |
|
|
|
| (Double Trouble) | (Double Trouble) | (Double Trouble) |
|
|
|
| (Double Trouble) | (Double Trouble) | (Double Trouble) |
Dank Depths
|
|
|
|
|
|
|
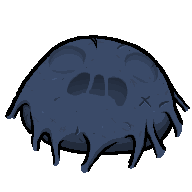
| Monstro II | Gish | The Adversary | Loki | War | Brownie |
Sisters Vis |
Floor 2
The Depths, Necropolis and Dank Depths
 |
| Mom |
Chapter 4
Floor 1
The Womb
 |
 |
 |
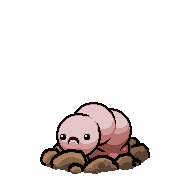
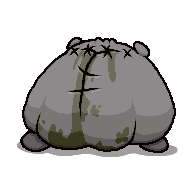
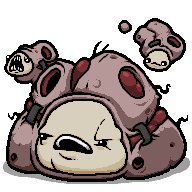
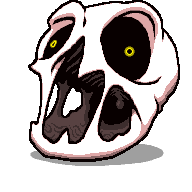
| Mr. Fred | Scolex | Teratoma |
Utero
 |
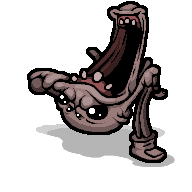
| Mama Gurdy |
The Womb and Utero
 |
|
 | |
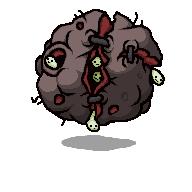
| Blastocyst | The Bloat | Daddy Long Legs | Lokii |
 |
 |
| Triachnid | Death |
 |
| Conquest |
Double Trouble
|
|
 |
|
|
| (Double Trouble) | (Double Trouble) | (Double Trouble) | (Double Trouble) | (Double Trouble) |
Scarred Womb
 |
| The Matriarch |
Floor 2
The Womb, Utero and Scarred Womb
 |
 |
| Mom's Heart | It Lives |
Blue Womb
 |
| Hush |
The Void
 |
| Delirium |
Chapter 5
Sheol
 |
| Satan |
The Cathedral
| Isaac |
.png)
Chapter 6
The Chest
 |
| ??? |
Dark Room
 |
| The Lamb |
Golden Door Boss
 |
| Mega Satan |
Universal
Universal Bosses are those which may appear at the end of floors 1-5 and 7, replacing a boss from the pool for that environment.
|
|
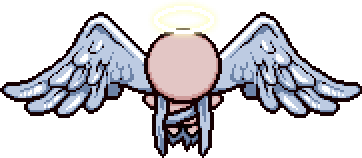
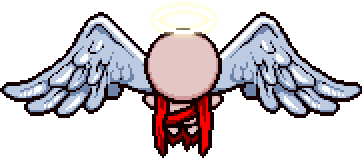
| The Fallen | The Headless Horseman |
Devil and Angel Room
Devil Room
 |
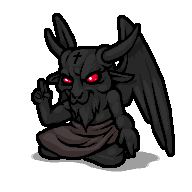
| Krampus |
Angel Room
 |
 |
| Uriel | Gabriel |
Seven Deadly Sins and Others
Seven Deadly Sins
The Seven Deadly Sins are mini-bosses that can be encountered on any floor, and will appear on post-Womb/Utero floors as regular enemies. Unlike with regular bosses, there is no special door leading to a mini-boss room, meaning that there is no way to tell whether a room is inhabited by a mini-boss unless the player is in possession of an item that reveals map icons such as Compass or a Map item. Once in a mini-boss room, the player cannot escape through means of bombing the door, as it will be boarded off.
Each of the Sins has specific drops, that are consumables or a pedestal item (less frequently).
In a room containing multiple Sins, only the last one will drop something, allowing you to choose what drop you want by killing a certain mini-boss last.
All them are based on the Seven Deadly Sins.
 |
 | |
| Envy | Gluttony | Wrath |
 |
 |
 |
| Pride | Lust | Greed |
 |
| Sloth |
These monsters can also spawn as much stronger alternatives, known as the Seven Super Deadly Sins.
| Super Envy | Super Gluttony | Super Wrath |
| Super Pride | Super Lust | Super Greed |
| Super Sloth |
There is also an Ultra variant of both Pride and Greed. Ultra Pride resembles Edmund and Florian, while Ultra Greed serves as the final boss for Greed Mode.
 |
| Ultra Pride |
Greed Mode
Greed Mode
 |
| Ultra Greed |
Greedier Mode
 |
| Ultra Greedier |
All Mini-Bosses
The Seven Deadly Sins
| Envy | Gluttony | Wrath |
| Pride | Lust | Greed |
| Sloth |
The Seven Super Deadly Sins
| Super Envy | Super Gluttony | Super Wrath |
| Super Pride | Super Lust | Super Greed |
| Super Sloth |
Ultra Pride
|
| Ultra Pride |
Krampus
|
| Krampus |
Angels
|
|
| Uriel | Gabriel |
All Bosses
|
|
|
|
| Monstro | Gemini | Larry Jr. |
|
|
|
| Dingle | Gurglings | Steven |
|
|
|
|
| Pin | Widow | Blighted Ovum |
|
|
|
| Fistula | Gurdy Jr. | The Haunt |
|
|
|
| The Duke of Flies | Rag Man |
Little Horn |
|
|
|
| Dangle |
Turdlings |
Chub |
|
|
|
| Gurdy | Mega Maw | C.H.A.D. |
|
|
|
| Mega Fatty | The Hollow | The Husk |
|
|
|
| Dark One | Polycephalus | The Frail |
|
|
|
| The Stain |
The Forsaken |
Carrion Queen |
|
|
|
| The Wretched | Peep | Big Horn |
|
|
|
| Rag Mega |
The Cage | Loki |
|
|
|
| Monstro II | Gish | The Gate |
|
|
|
| The Adversary | The Bloat | Mask of Infamy |
|
|
|
| Brownie |
Sisters Vis |
Mr. Fred |
|
|
|
| Scolex | Mama Gurdy | Lokii |
|
|
|
| Blastocyst | The Matriarch |
Teratoma |
 |
|
|
| Daddy Long Legs | Triachnid | The Fallen |
The Harbingers
|
|
|
| Famine | Pestilence | War |
|
|
|
| Death | Conquest | The Headless Horseman |
Final Bosses
|
|
|
| Mom | Mom's Heart | It Lives |
|
|
| Satan | Isaac |
|
|
| The Lamb | ??? |
|
|
| Hush |
Mega Satan |
|
|
| Ultra Greed |
Ultra Greedier |
|
| Delirium |
Trivia
- "Originally every boss/enemy in Isaac was going to resemble Isaac in some way. this is the case for most."[1]
- Double Trouble boss pools can have bosses from any of the previous chapters' pools, and are the same for both versions of that chapter's floor. This means that, for example, Double Trouble boss fights in the Caves can feature bosses from the Cellar or the Basement, and every Double Trouble fight in the Caves can also be encountered in the Catacombs.
- Bosses often come in three versions: normal (For example, Monstro), posthumous (Monstro II), and alternate (Gish). Usually, the posthumous boss looks like the original with some horrible mutilation; for example, Monstro and Chub had most of their skin ripped off.
- Most bosses and their alternate/posthumous forms either share similar death animations or share the fact that they lack death animations.
Bugs
| Defeating a boss quickly enough might cause the boss music to play, even after the boss dies. |