Crossstoney (talk | contribs) mNo edit summary |
m (template error fix) |
||
| (3 intermediate revisions by 2 users not shown) | |||
| Line 1: | Line 1: | ||
| + | <noinclude>{{context push | ana+ }}</noinclude> |
||
== Player == |
== Player == |
||
=== Characters === |
=== Characters === |
||
| Line 58: | Line 59: | ||
* Each copy takes up its own spot on the familiar line, but only the first one launches out. Respawning brains may end up stacking on top of each other. |
* Each copy takes up its own spot on the familiar line, but only the first one launches out. Respawning brains may end up stacking on top of each other. |
||
; {{i|Bomb Bag}} |
; {{i|Bomb Bag}} |
||
| − | * Can drop a [[ |
+ | * Can drop a [[Golden Bomb]]. |
; {{i|Box}} |
; {{i|Box}} |
||
| − | * Can drop a [[ |
+ | * Can drop a [[Golden Bomb]]. |
; {{i|Butt Bombs}} |
; {{i|Butt Bombs}} |
||
* Heals [[Brownie]], [[Dangle]], and [[Dingle]]. |
* Heals [[Brownie]], [[Dangle]], and [[Dingle]]. |
||
; {{i|Cain's Other Eye}} |
; {{i|Cain's Other Eye}} |
||
| − | * Each tear deals Isaac's |
+ | * Each tear deals Isaac's tear damage. |
; {{i|The Common Cold}} |
; {{i|The Common Cold}} |
||
* The poison hits twice, dealing a total of double Isaac's damage. |
* The poison hits twice, dealing a total of double Isaac's damage. |
||
| Line 100: | Line 101: | ||
; {{i|The Virus}} |
; {{i|The Virus}} |
||
* Each poison hit deals damage equal to Isaac's tear damage instead of 4 or 6 damage. |
* Each poison hit deals damage equal to Isaac's tear damage instead of 4 or 6 damage. |
||
| − | * Enemies killed after they have been inflicted with this type of poison have a 20% chance to drop [[ |
+ | * Enemies killed after they have been inflicted with this type of poison have a 20% chance to drop [[Black Heart]]s. |
=== Trinkets === |
=== Trinkets === |
||
| Line 166: | Line 167: | ||
* {{i|Epic Fetus}} + {{i|Telepathy for Dummies}} - Cursor slides towards enemies. |
* {{i|Epic Fetus}} + {{i|Telepathy for Dummies}} - Cursor slides towards enemies. |
||
* {{i|Fire Mind}} + {{i|Mysterious Liquid}} - When the Fire Mind tear explodes, a much larger pool of creep is left behind. |
* {{i|Fire Mind}} + {{i|Mysterious Liquid}} - When the Fire Mind tear explodes, a much larger pool of creep is left behind. |
||
| − | * |
+ | * [[Guppy]] + {{i|Ipecac}} - Ipecac shots now spawn blue flies on hit, both direct and indirect. |
* {{i|Holy Mantle}} + {{i|Stop Watch}} - Blocking damage with Holy Mantle triggers the Stop Watch effect. |
* {{i|Holy Mantle}} + {{i|Stop Watch}} - Blocking damage with Holy Mantle triggers the Stop Watch effect. |
||
* {{i|The Inner Eye}} + {{i|Mutant Spider}} - Shoots 7 tears instead of 3. No further decrease in fire rate. |
* {{i|The Inner Eye}} + {{i|Mutant Spider}} - Shoots 7 tears instead of 3. No further decrease in fire rate. |
||
| Line 191: | Line 192: | ||
== Pickups == |
== Pickups == |
||
=== Bombs === |
=== Bombs === |
||
| − | ; [[Troll |
+ | ; [[Troll Bomb]] |
* Troll Bombs are now given a random amount of time before exploding. Before that, they always exploded at a fixed time. This means that if two Troll Bombs spawn at the exact time right next to each other, there's a high chance one Troll Bomb will blow up before the other, sending that Troll Bomb sliding outwards a bit before exploding. |
* Troll Bombs are now given a random amount of time before exploding. Before that, they always exploded at a fixed time. This means that if two Troll Bombs spawn at the exact time right next to each other, there's a high chance one Troll Bomb will blow up before the other, sending that Troll Bomb sliding outwards a bit before exploding. |
||
| Line 202: | Line 203: | ||
=== Rooms === |
=== Rooms === |
||
; [[Boss Room]] |
; [[Boss Room]] |
||
| − | * Double Trouble boss rooms can now contain 2 bosses of different types. Additionally, they can appear as early as [[ |
+ | * Double Trouble boss rooms can now contain 2 bosses of different types. Additionally, they can appear as early as [[chapter 1]]. |
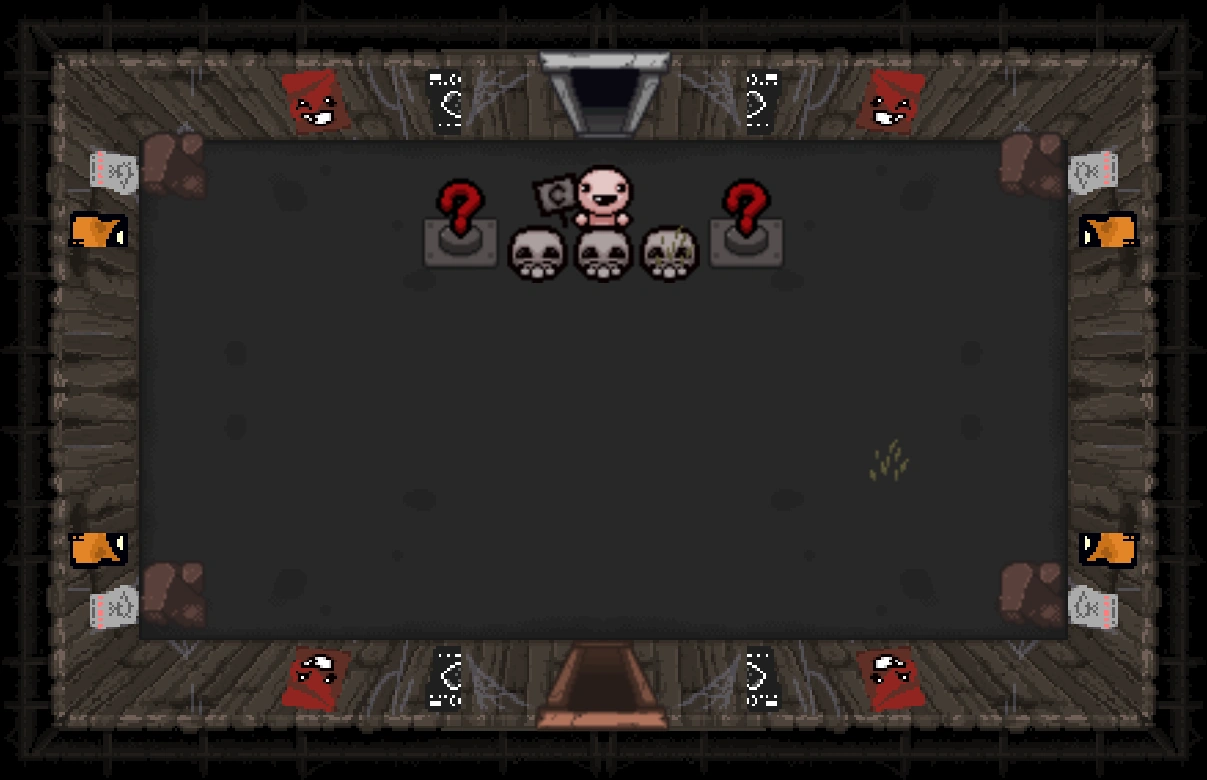
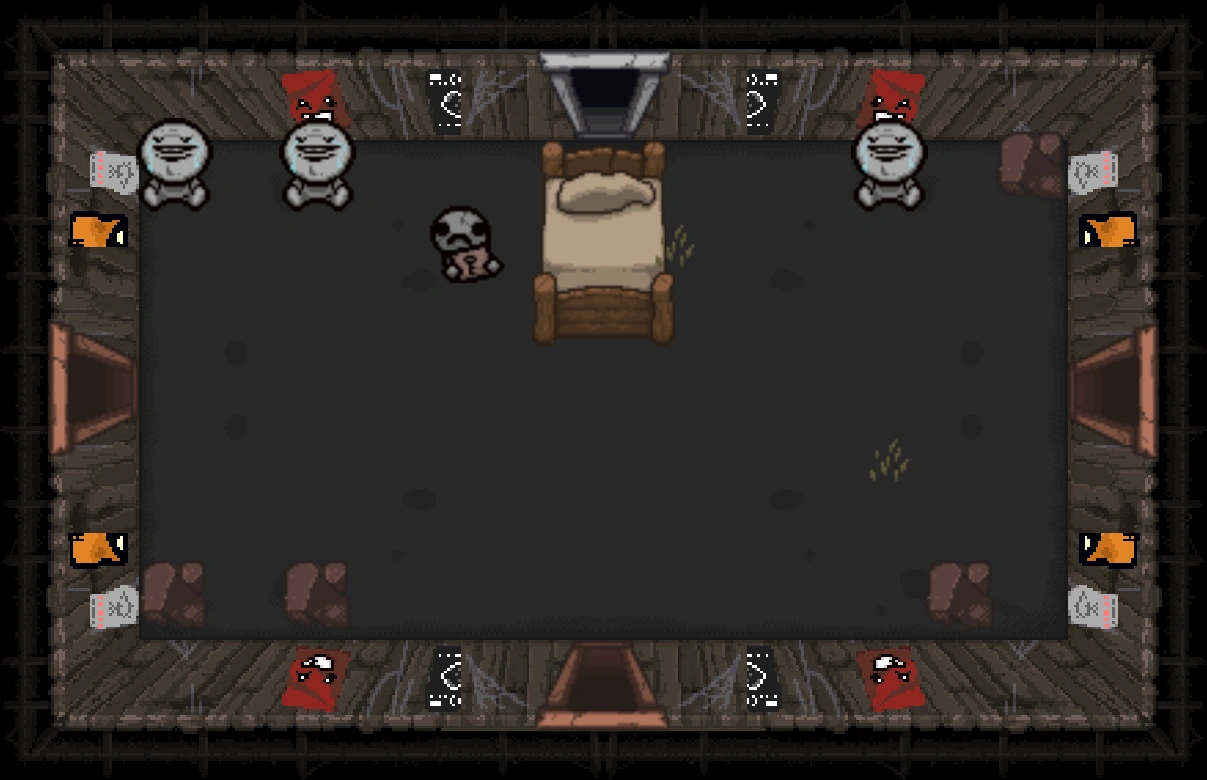
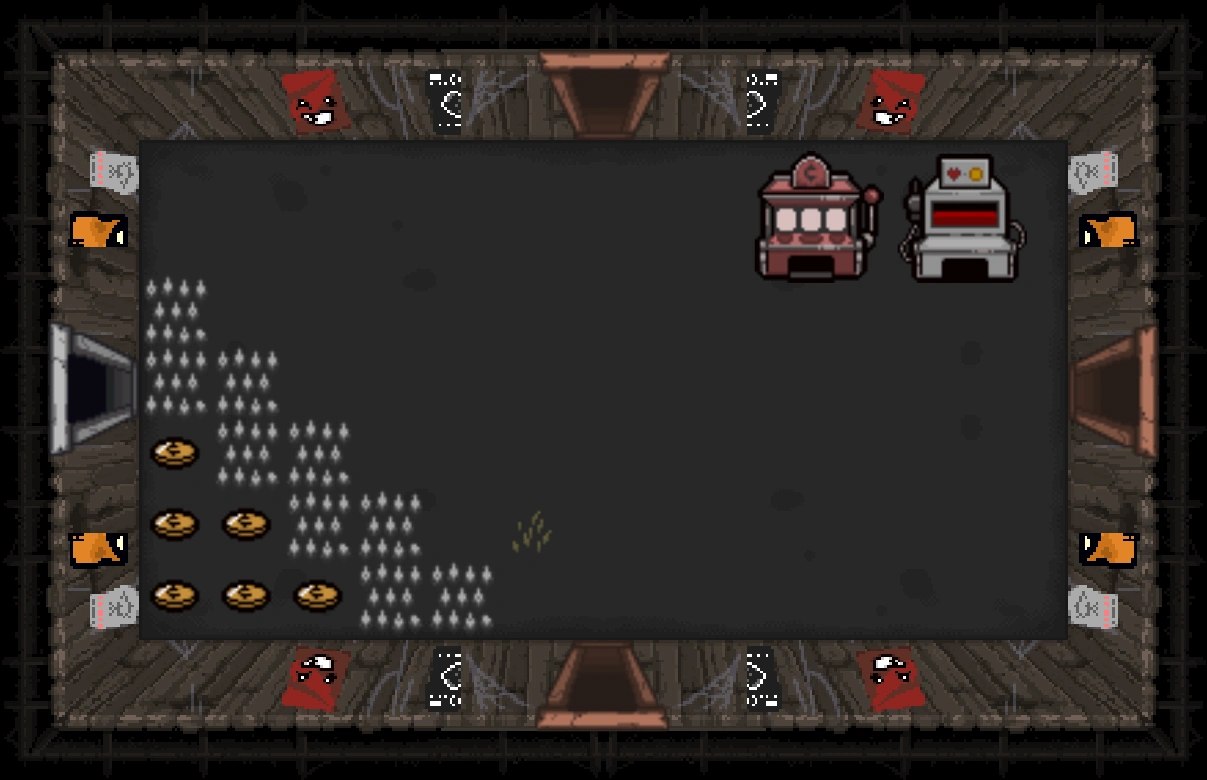
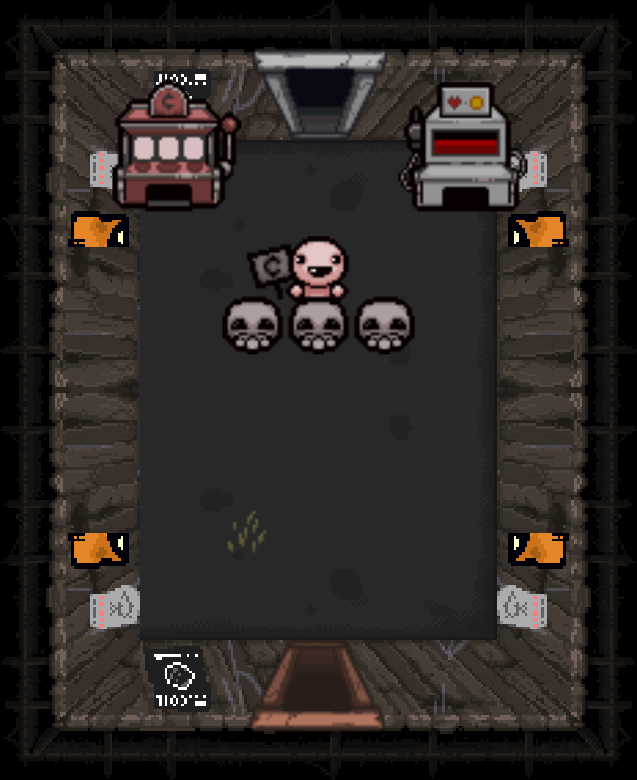
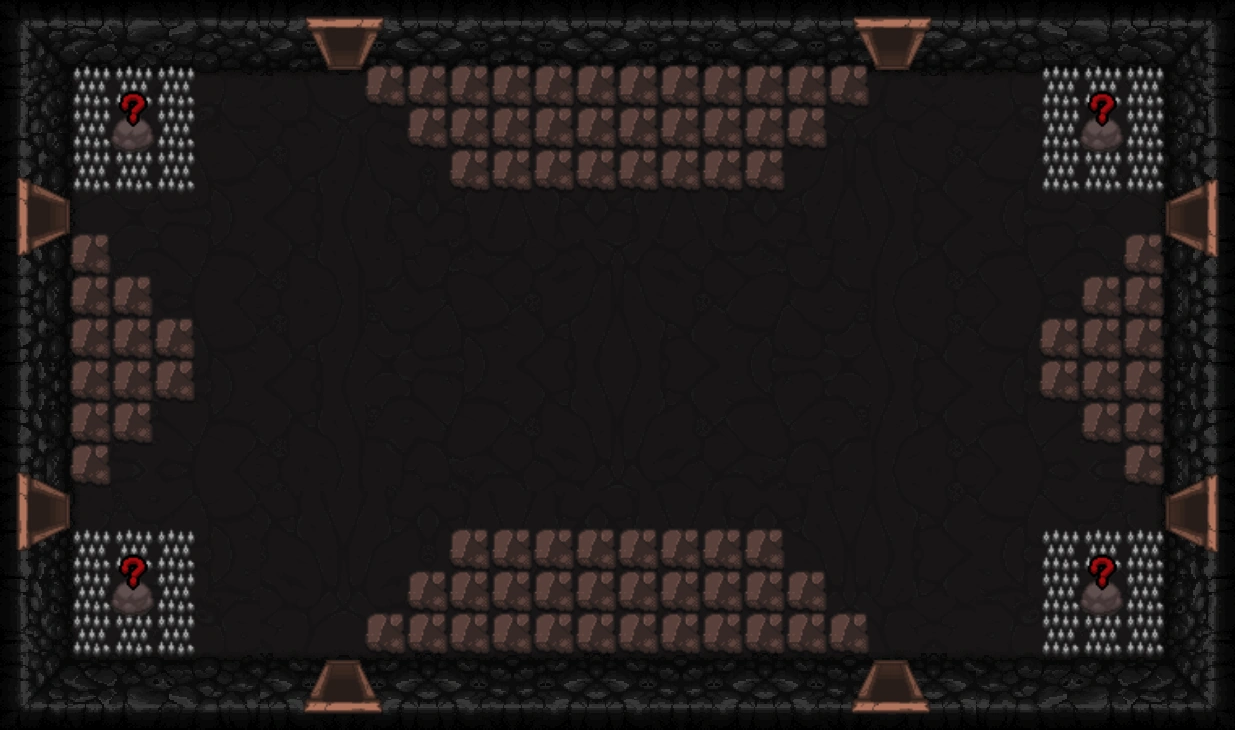
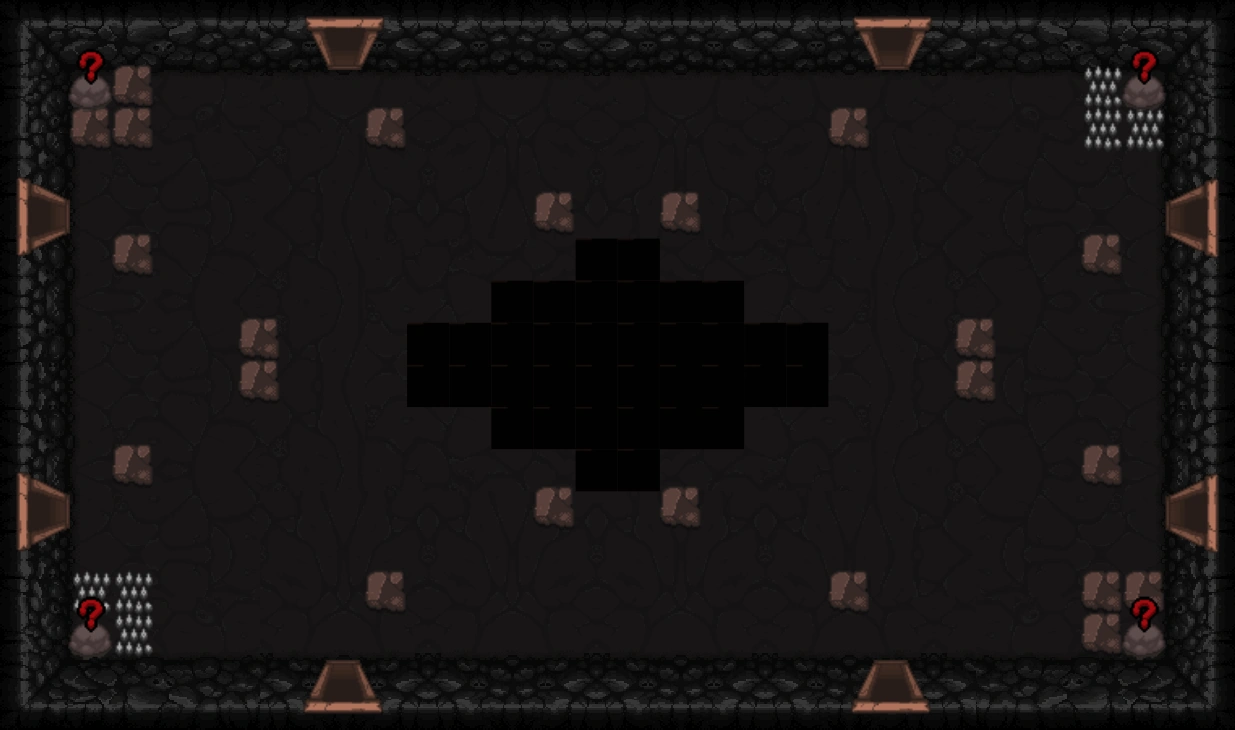
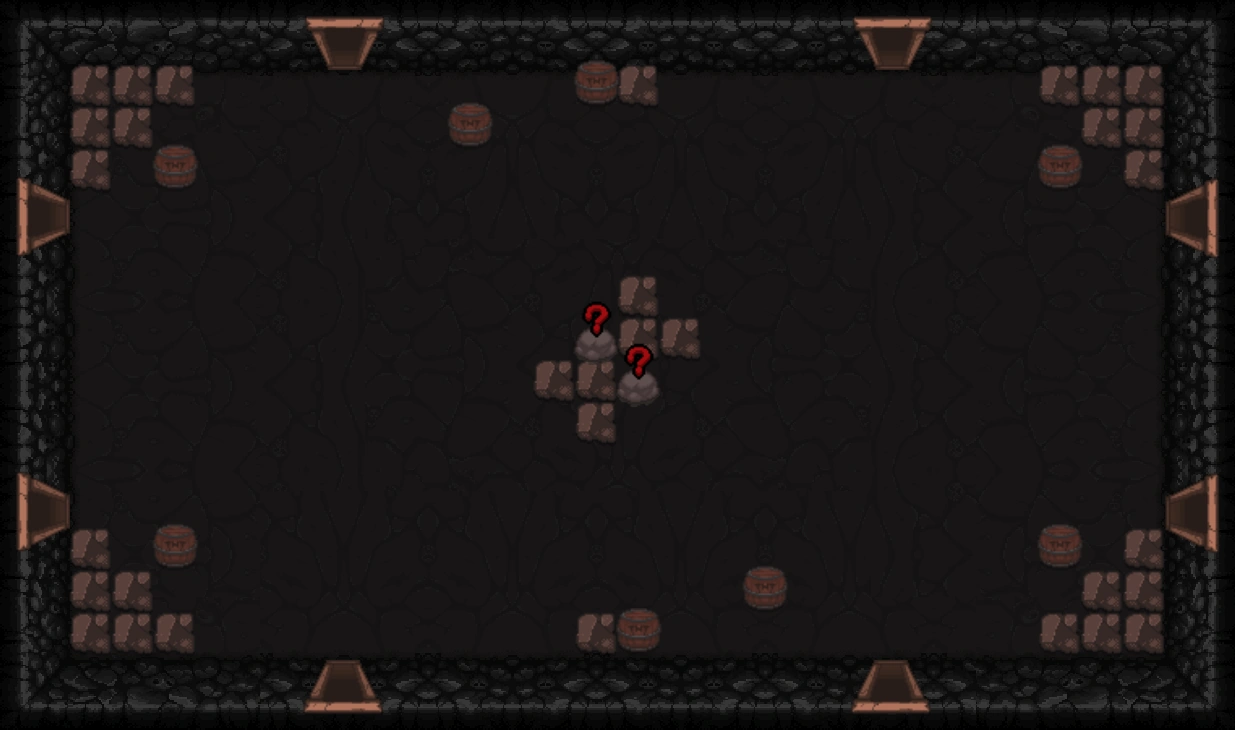
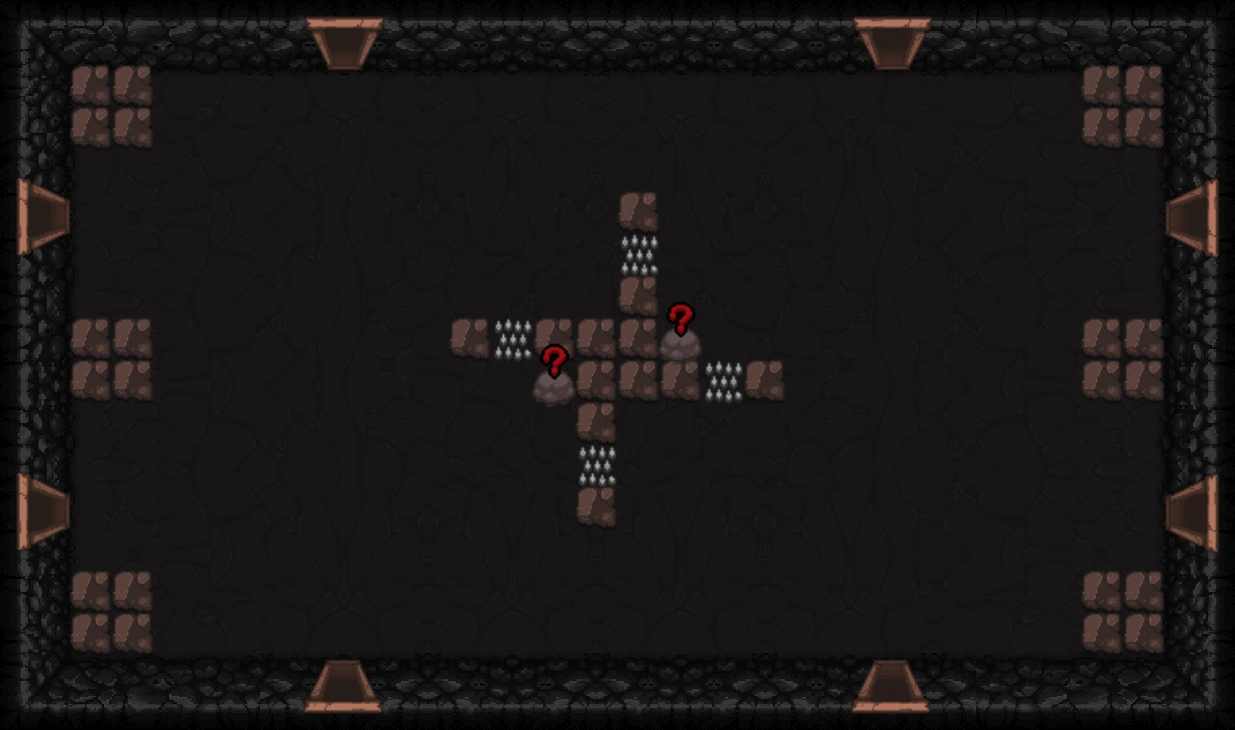
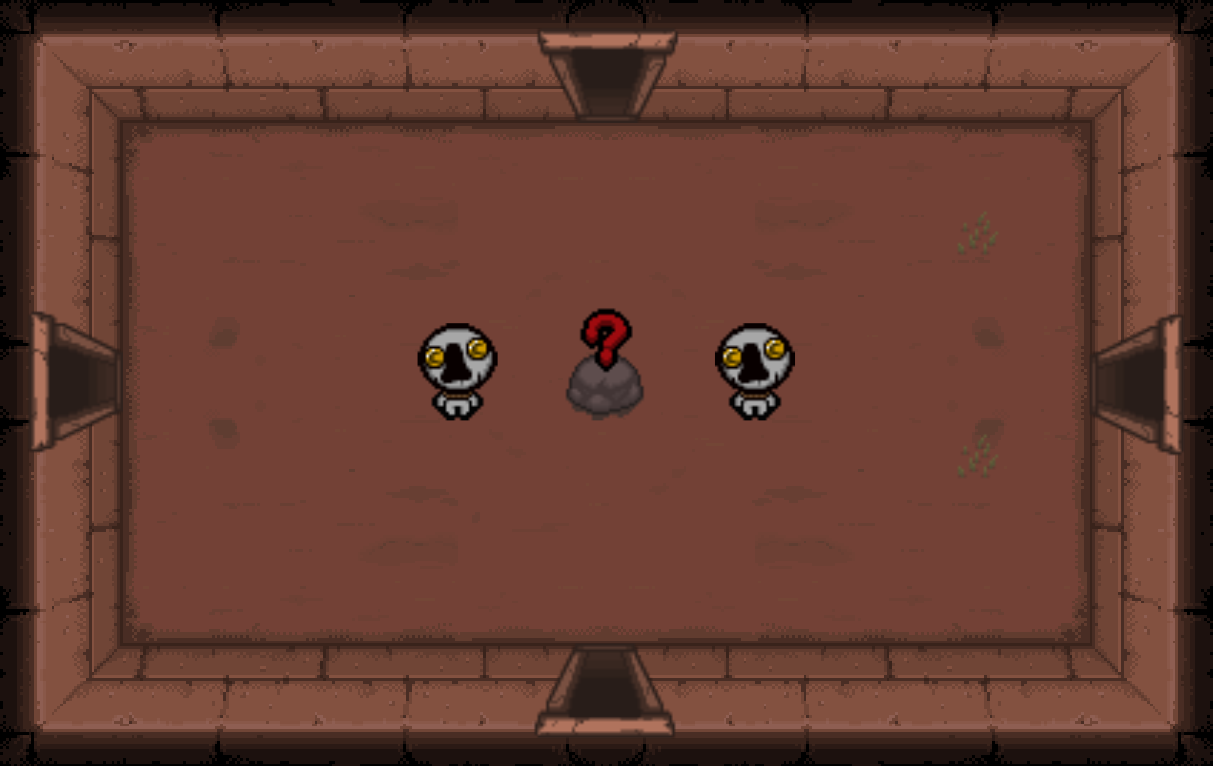
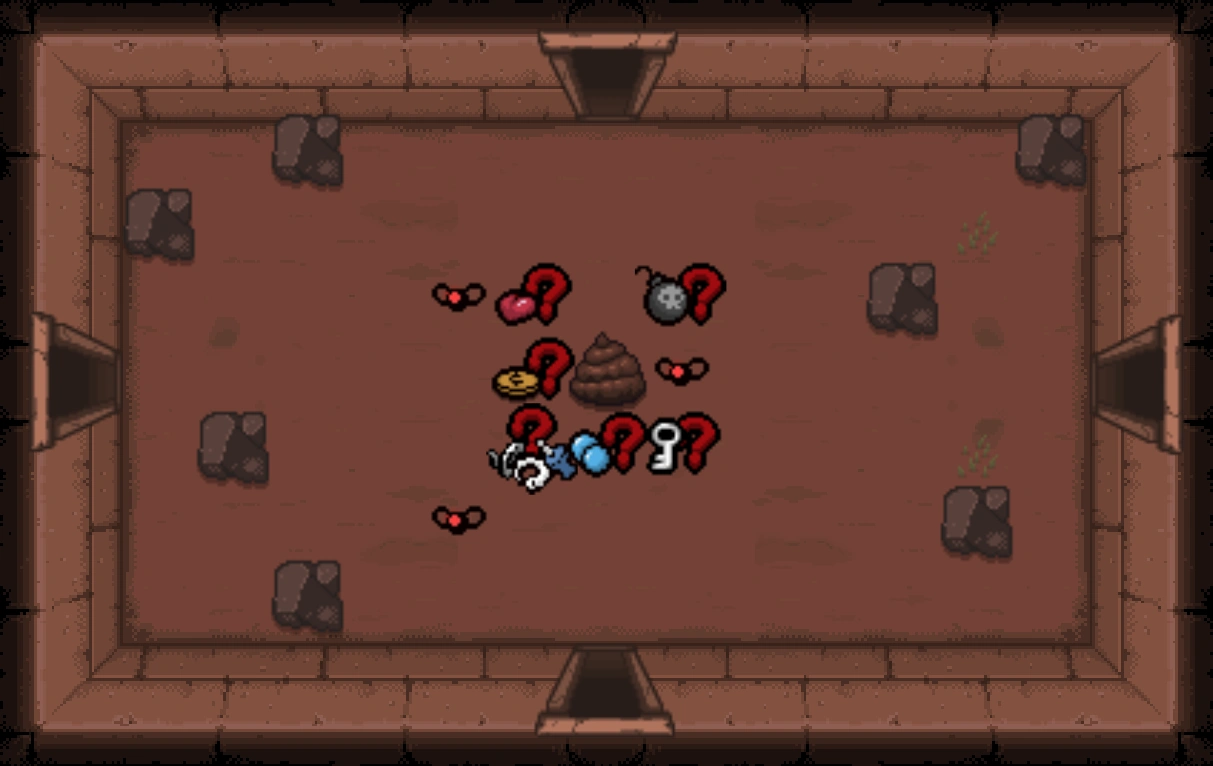
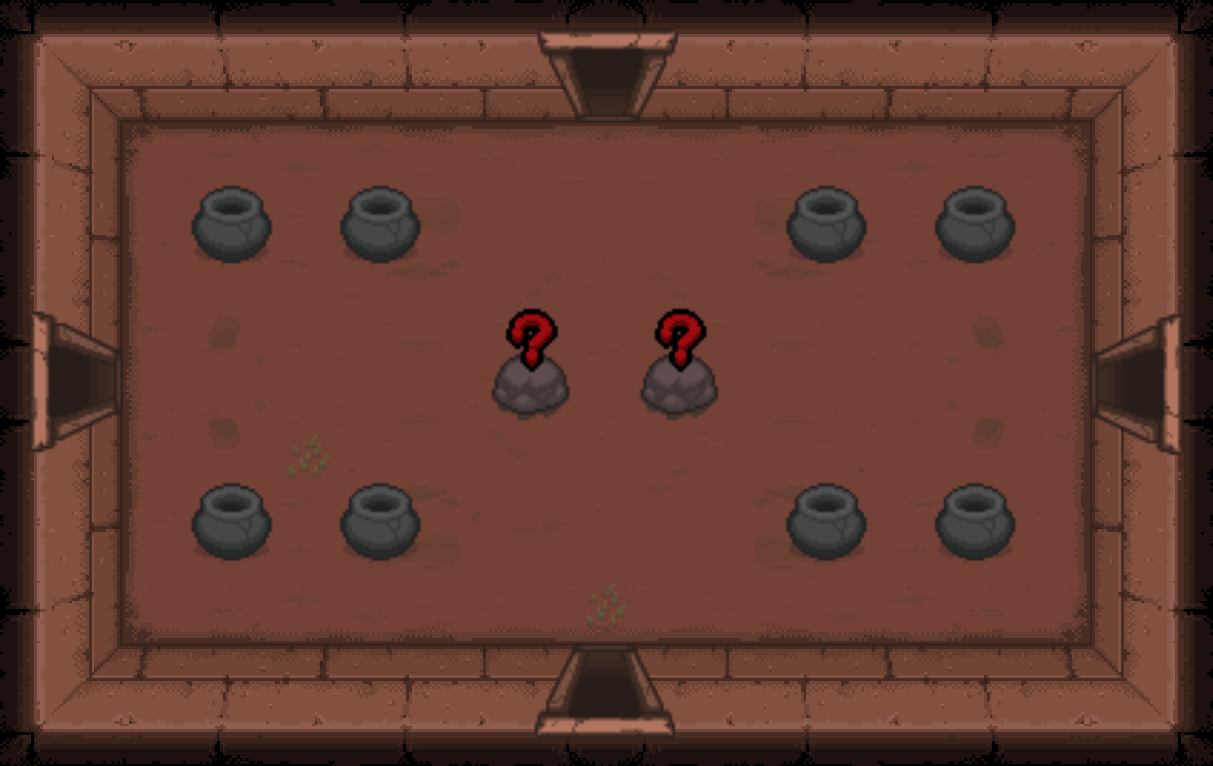
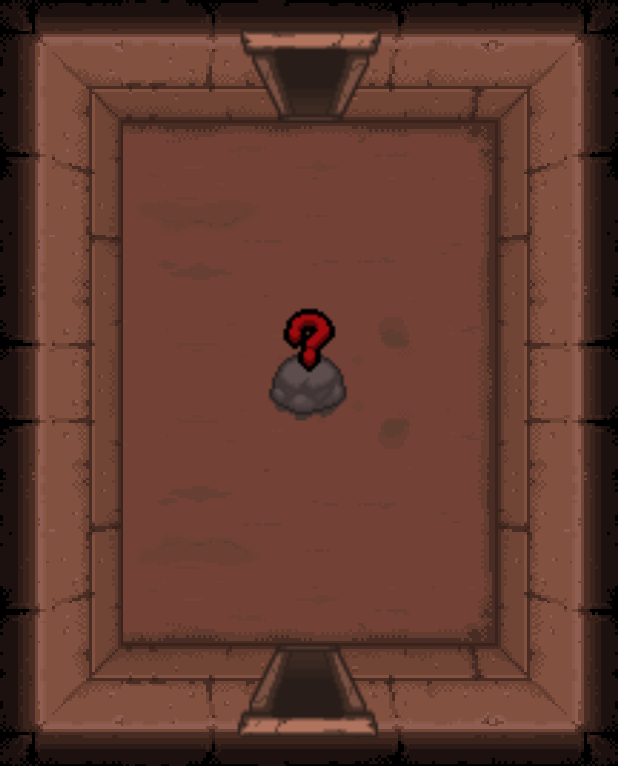
; [[Arcade]] |
; [[Arcade]] |
||
| − | * Can contain a [[ |
+ | * Can contain a [[Bed]], a [[Key Master]] and 3 hanging dead [[Shopkeeper]]s. |
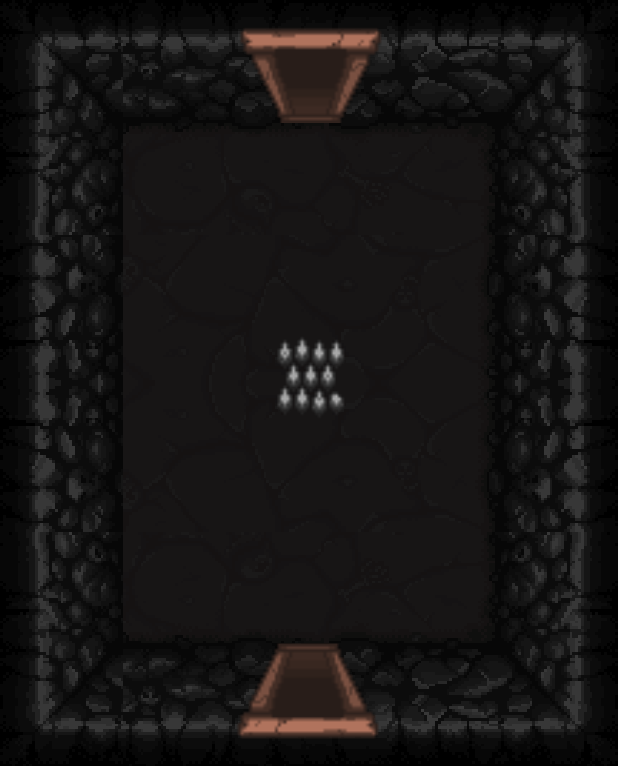
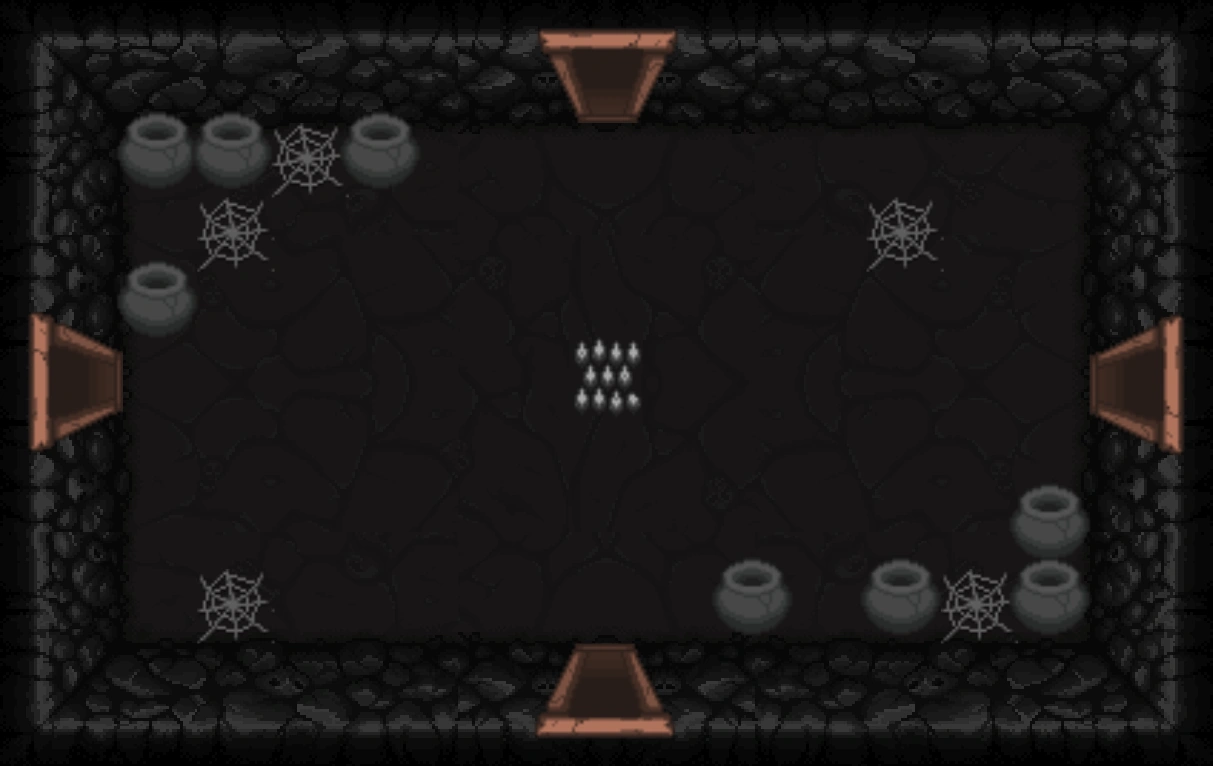
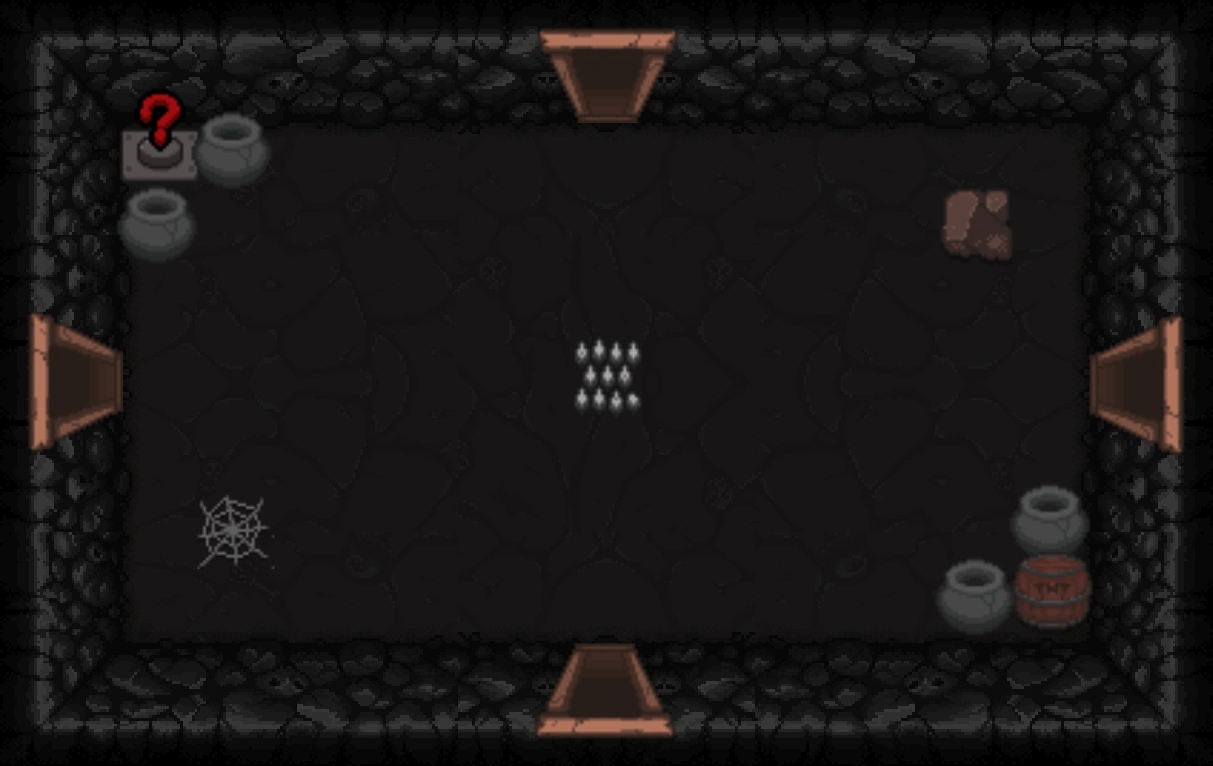
* New layouts: |
* New layouts: |
||
[[File:Arcade 12.png|200px]][[File:Arcade 13.png|200px]][[File:Arcade 14.png|200px]][[File:Arcade 15.png|200px]] |
[[File:Arcade 12.png|200px]][[File:Arcade 13.png|200px]][[File:Arcade 14.png|200px]][[File:Arcade 15.png|200px]] |
||
| Line 211: | Line 212: | ||
; [[Angel Room]] |
; [[Angel Room]] |
||
* Possible rewards found in the room include: |
* Possible rewards found in the room include: |
||
| − | ** 2 [[ |
+ | ** 2 [[Eternal Chest]]s |
| − | ** 1 [[ |
+ | ** 1 [[Eternal Heart]], and 4 [[Soul Heart]]s behind [[Key Block]]s |
** {{mode|greed}} 6 coins |
** {{mode|greed}} 6 coins |
||
| − | ** {{mode|greed}} 2 [[ |
+ | ** {{mode|greed}} 2 [[Soul Heart]]s and 1 [[Gold Heart]]. |
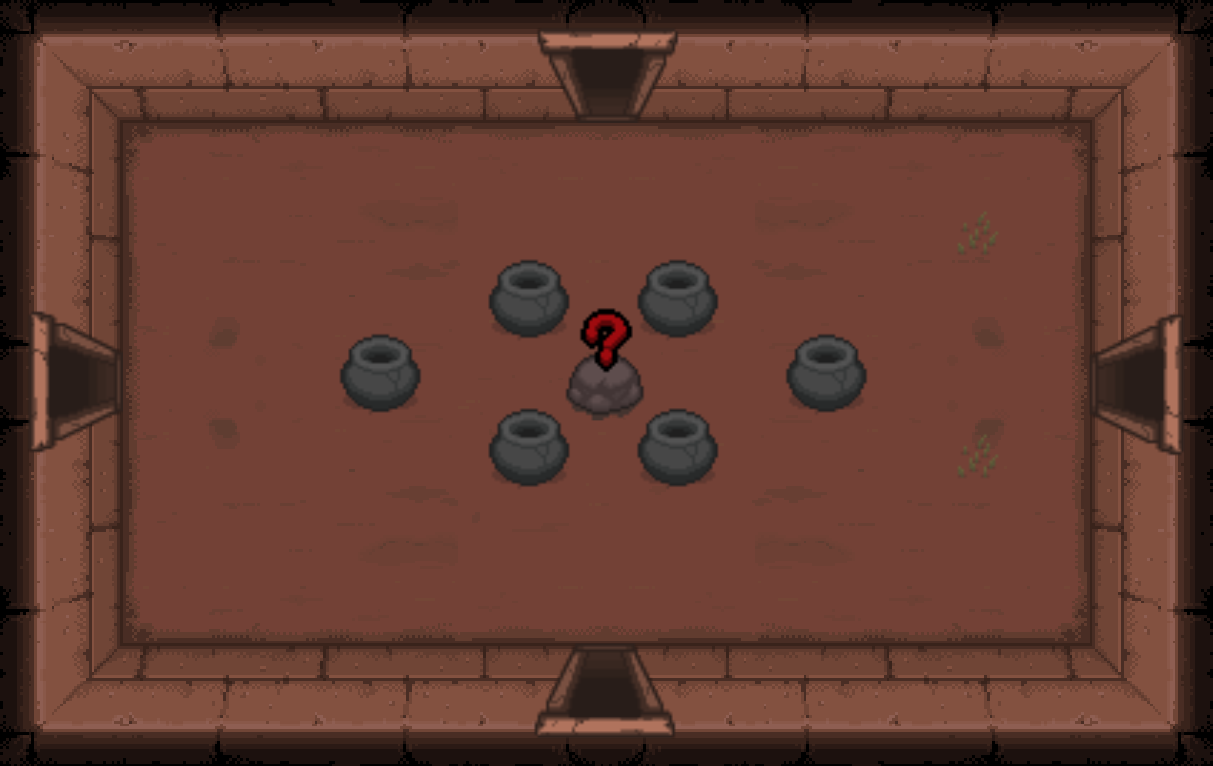
* [[Urn]]s might spawn in the room. |
* [[Urn]]s might spawn in the room. |
||
| − | * Killing Key [[ |
+ | * Killing Key [[Key Master]] and [[Shell Game Beggar]] no longer applies the 25% bonus. |
| − | * Donating to a [[ |
+ | * Donating to a [[Beggar]] until it pays out with an item on the current floor applies a 10% bonus instead of 25%. |
| − | * Donating to a [[Devil |
+ | * Donating to a [[Devil Beggar]] until it pays out with an item on the current floor applies a 10% bonus instead of 25%. |
** If this coin flip succeeds, a Devil Room will be generated regardless of the above coin flips. |
** If this coin flip succeeds, a Devil Room will be generated regardless of the above coin flips. |
||
* "You feel blessed!" fortune in the [[Sacrifice Room]] of the current floor applies a bonus: |
* "You feel blessed!" fortune in the [[Sacrifice Room]] of the current floor applies a bonus: |
||
| Line 225: | Line 226: | ||
** If both "You feel blessed!" fortunes appeared, the chance will be 65%. |
** If both "You feel blessed!" fortunes appeared, the chance will be 65%. |
||
* Angel Rooms that spawn after Isaac defeats Mom's Heart or It Lives will be normal Angel Rooms with items or pickups. |
* Angel Rooms that spawn after Isaac defeats Mom's Heart or It Lives will be normal Angel Rooms with items or pickups. |
||
| − | * A [[ |
+ | * A [[Troll Bomb]] can sometimes appear behind the Angel Statue, blowing it up. If the Angel fights have been unlocked, this will begin the boss fight if the player is not careful or quick enough to move the bomb. |
; [[Bedroom]] |
; [[Bedroom]] |
||
| Line 233: | Line 234: | ||
; [[Boss Rush]] |
; [[Boss Rush]] |
||
| − | * There is a chance that there will only be 2 items to choose from. Additionally, items may be trapped behind [[ |
+ | * There is a chance that there will only be 2 items to choose from. Additionally, items may be trapped behind [[rock]]s or [[spikes]]. Items may appear in the corners of the room instead of the center. |
* All 15 waves are randomized. Each wave spawns two random bosses from the list. Each boss can only appear once per Boss Rush. |
* All 15 waves are randomized. Each wave spawns two random bosses from the list. Each boss can only appear once per Boss Rush. |
||
** [[Brownie]], [[Dangle]], [[Dark One]], [[Dingle]], 3x [[Gurglings]], [[Little Horn]], [[Mega Fatty]], [[Mega Maw]], [[Polycephalus]], [[Rag Man]], [[The Adversary]], [[The Cage]], [[The Forsaken]], [[The Frail]], [[The Gate]], [[The Haunt]], [[The Stain]], and 3x [[Turdlings]] can appear in the Boss Rush. |
** [[Brownie]], [[Dangle]], [[Dark One]], [[Dingle]], 3x [[Gurglings]], [[Little Horn]], [[Mega Fatty]], [[Mega Maw]], [[Polycephalus]], [[Rag Man]], [[The Adversary]], [[The Cage]], [[The Forsaken]], [[The Frail]], [[The Gate]], [[The Haunt]], [[The Stain]], and 3x [[Turdlings]] can appear in the Boss Rush. |
||
| Line 245: | Line 246: | ||
; [[Curse Room]] |
; [[Curse Room]] |
||
| − | * Can contain [[ |
+ | * Can contain [[Reward Plate]]s, [[card]]s, [[rune]]s, [[Black Globin's Head]]s, [[Imp]]s, and/or [[Null]]s. |
; [[Challenge Room]] |
; [[Challenge Room]] |
||
| Line 254: | Line 255: | ||
* Rewards are reworked: |
* Rewards are reworked: |
||
{| class="wikitable" |
{| class="wikitable" |
||
| − | ! |
+ | ! style="width: 10em" | № of sacrifices on Current Floor |
| + | ! Chance |
||
| − | ! Possible Rewards |
||
| + | ! Reward |
||
| − | |- |
+ | |- |
| − | | 1st/2nd |
||
| + | | rowspan="2" | 1<sup>st</sup>/2<sup>nd</sup> |
||
| − | | |
||
| + | | 50% |
||
| − | * 50% chance - Nothing |
||
| + | | Nothing |
||
| − | * 50% chance - 1 [[Coins (Pickup)|Penny]] |
||
| − | |- |
+ | |- |
| − | | |
+ | | 50% |
| + | | 1 [[Penny]] |
||
| − | | |
||
| ⚫ | |||
| − | * 33% chance - Nothing |
||
| + | | rowspan="2" | 3<sup>rd</sup> |
||
| ⚫ | |||
| + | | 33% |
||
| ⚫ | |||
| + | | Nothing |
||
| ⚫ | |||
| ⚫ | |||
| ⚫ | |||
| + | | 67% |
||
| ⚫ | |||
| ⚫ | |||
| − | | 4th |
||
| ⚫ | |||
| − | | |
||
| ⚫ | |||
| − | * 50% chance - Nothing |
||
| ⚫ | |||
| − | * 50% chance - 1 random [[chest]] |
||
| ⚫ | |||
| ⚫ | |||
| + | | rowspan="2" | 4<sup>th</sup> |
||
| ⚫ | |||
| − | | |
+ | | 50% |
| + | | Nothing |
||
| − | | |
||
| ⚫ | |||
| − | * 33% chance - 3 [[penny|pennies]] |
||
| + | | 50% |
||
| ⚫ | |||
| ⚫ | |||
| − | * 67% chance - "You feel blessed!" (increased chance to receive an Angel Room over a Devil Room for the current floor; see [[Angel Room#Angel Room Generation Chance|Angel Room Generation Chance]]) |
||
| ⚫ | |||
| − | ** This does not increase the chance of receiving a Devil/Angel room after defeating a boss; it only increases the chance of getting an Angel Room over a Devil Room. |
||
| + | | rowspan="2" | 5<sup>th</sup> |
||
| − | ** This can cause an Angel Room to spawn even if you have already taken a deal with the devil. |
||
| + | | 33% |
||
| − | ** Note that this is more of a modifier than the "You feel blessed!" effect above. |
||
| ⚫ | |||
| ⚫ | |||
| ⚫ | |||
| − | | 6th |
||
| + | | 67% |
||
| − | | |
||
| + | | You feel blessed!" (Same conditions as 3<sup>rd</sup> sacrifice but a stronger modifier.) |
||
| − | * 33% chance - Teleport to the Devil/Angel Room. |
||
| ⚫ | |||
| ⚫ | |||
| + | | rowspan="2" | 6<sup>th</sup> |
||
| − | * 67% chance - 1 random [[chest]] |
||
| + | | 33% |
||
| ⚫ | |||
| ⚫ | |||
| ⚫ | |||
| ⚫ | |||
| − | |7th |
||
| + | | 67% |
||
| − | | |
||
| ⚫ | |||
| ⚫ | |||
| ⚫ | |||
| − | * 67% chance - 1 [[soul heart]] |
||
| + | | rowspan="2" | 7<sup>th</sup> |
||
| ⚫ | |||
| + | | 33% |
||
| − | |8th |
||
| ⚫ | |||
| − | | |
||
| + | |- |
||
| ⚫ | |||
| + | | 67% |
||
| ⚫ | |||
| + | | 1 [[Soul Heart]] |
||
| − | |9th |
||
| − | | |
+ | |- |
| + | | 8<sup>th</sup> |
||
| ⚫ | |||
| + | | 100% |
||
| ⚫ | |||
| ⚫ | |||
| − | |10th |
||
| − | | |
+ | |- |
| + | | 9<sup>th</sup> |
||
| − | * 50% chance - 7 soul hearts |
||
| + | | 100% |
||
| − | * 50% chance - 30 pennies |
||
| ⚫ | |||
| ⚫ | |||
| + | |- |
||
| − | |11th |
||
| + | | rowspan="2" | 10<sup>th</sup> |
||
| − | | |
||
| + | | 50% |
||
| ⚫ | |||
| + | | 7 Soul Hearts |
||
| ⚫ | |||
| + | |- |
||
| − | |12th and onwards |
||
| + | | 50% |
||
| − | | |
||
| + | | 30 Pennies |
||
| − | * 50% chance - Nothing |
||
| + | |- |
||
| ⚫ | |||
| + | | 11<sup>th</sup> |
||
| ⚫ | |||
| + | | 100% |
||
| ⚫ | |||
| + | |- |
||
| + | | rowspan="2" | 12<sup>th</sup> and onwards |
||
| + | | 50% |
||
| + | | Nothing |
||
| + | |- |
||
| + | | 50% |
||
| ⚫ | |||
| ⚫ | |||
* Losing red hearts due to the spikes will reduce the chance for a [[Devil Room]] to appear. |
* Losing red hearts due to the spikes will reduce the chance for a [[Devil Room]] to appear. |
||
* The amount of luck that the player has does not affect the payout probabilities. |
* The amount of luck that the player has does not affect the payout probabilities. |
||
| Line 326: | Line 337: | ||
; [[Secret Room]] |
; [[Secret Room]] |
||
| − | * Can contain 2 [[ |
+ | * Can contain 2 [[Reward Plate]]s. |
; [[Shop]] |
; [[Shop]] |
||
| Line 332: | Line 343: | ||
; [[Super Secret Room]] |
; [[Super Secret Room]] |
||
| − | * The [[Dark Room]] theme contains 4 [[Null]]s and 6 [[pill]]s or [[rune]]s instead of 1 [[ |
+ | * The [[Dark Room]] theme contains 4 [[Null]]s and 6 [[pill]]s or [[rune]]s instead of 1 [[Black Heart]]. |
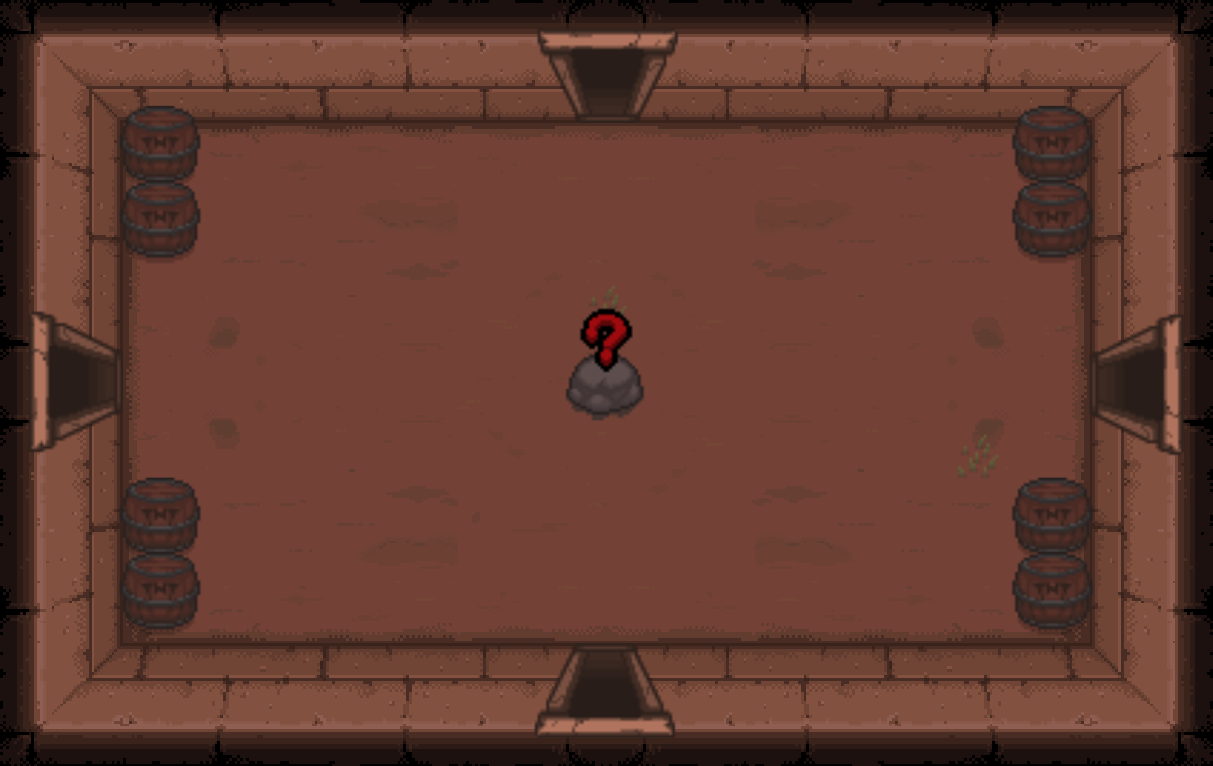
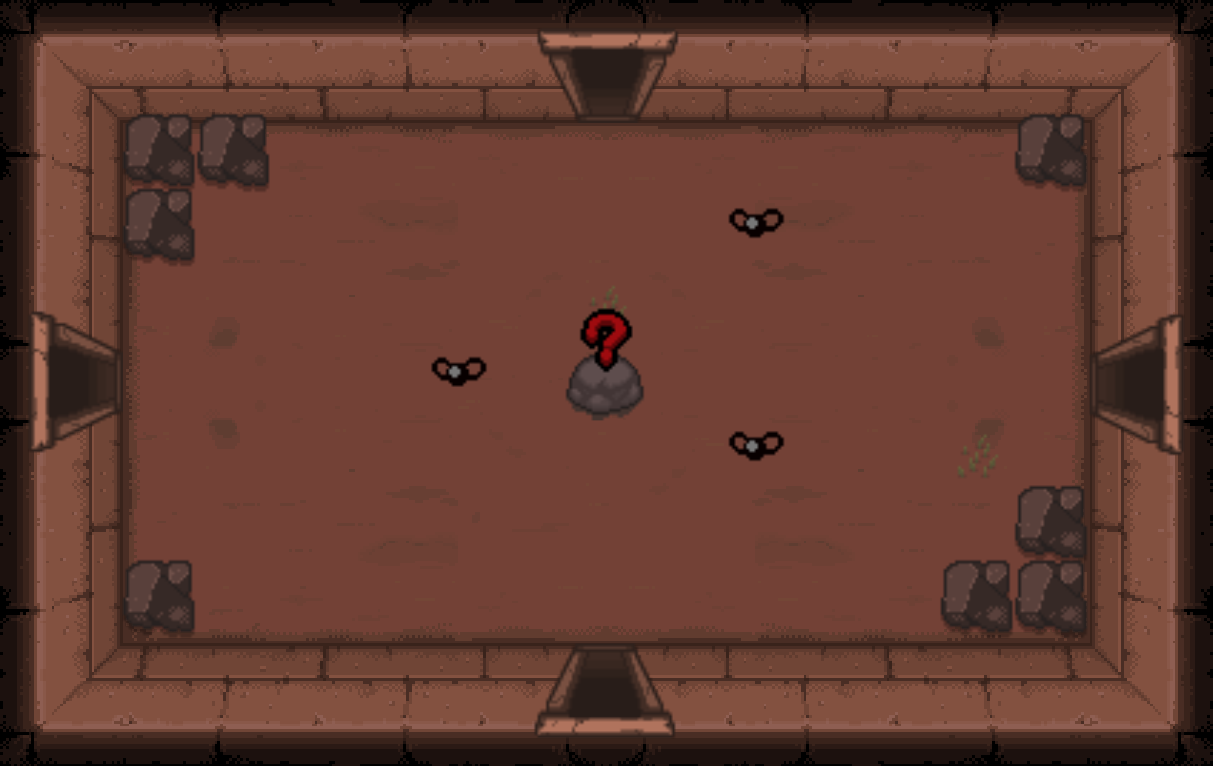
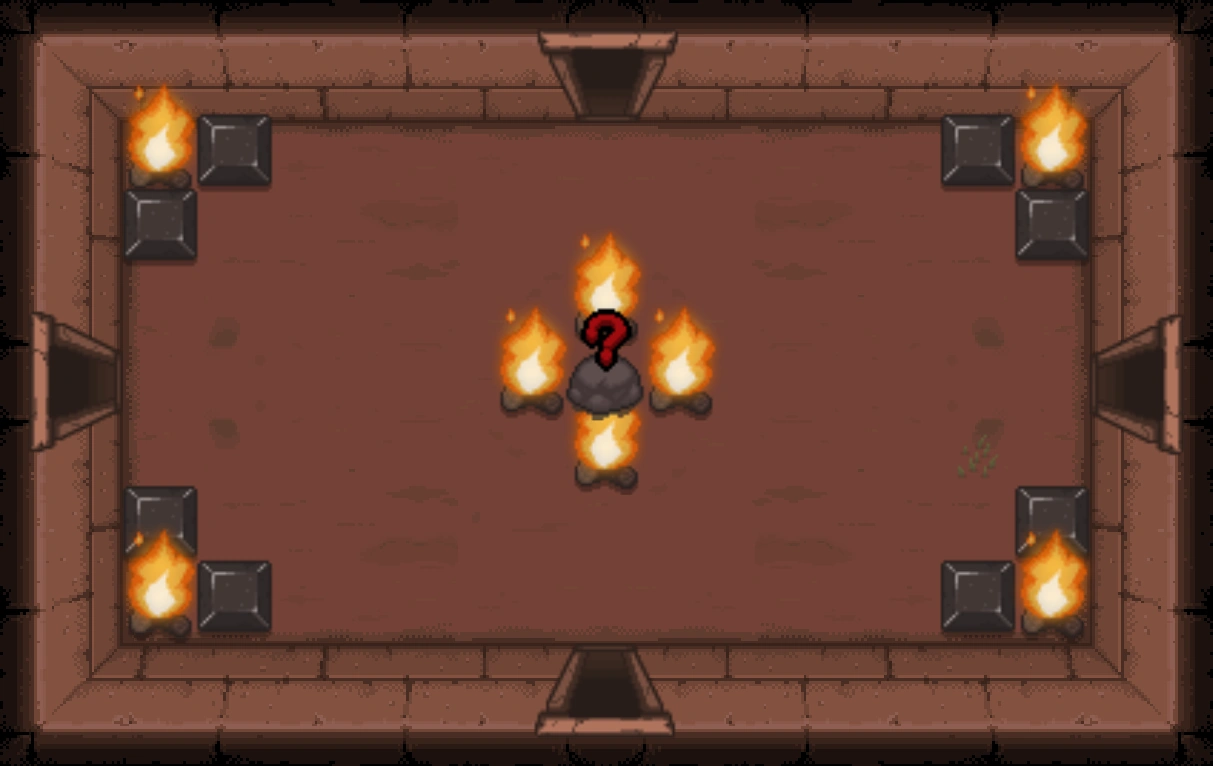
* New themes: |
* New themes: |
||
| − | ** Burning Basement: 2 [[ |
+ | ** Burning Basement: 2 [[Bomb Chest]]s, a [[Shopkeeper]], 3 [[TNT]], and [[Fire Place]]s, including [[Red Fire Place]]s. |
** Flooded Caves: [[black poop]] and [[spikes]]. |
** Flooded Caves: [[black poop]] and [[spikes]]. |
||
| − | ** Library: 1 [[ |
+ | ** Library: 1 [[Black Heart]]. |
** I AM ERROR: A [[Mom's Hand]], random pickups, [[chest]]s, [[card]]s, and [[trinket]]s. |
** I AM ERROR: A [[Mom's Hand]], random pickups, [[chest]]s, [[card]]s, and [[trinket]]s. |
||
; [[Treasure Room]] |
; [[Treasure Room]] |
||
* There's a rare chance that a treasure room might contains two items to choose from, only one of which can be taken. |
* There's a rare chance that a treasure room might contains two items to choose from, only one of which can be taken. |
||
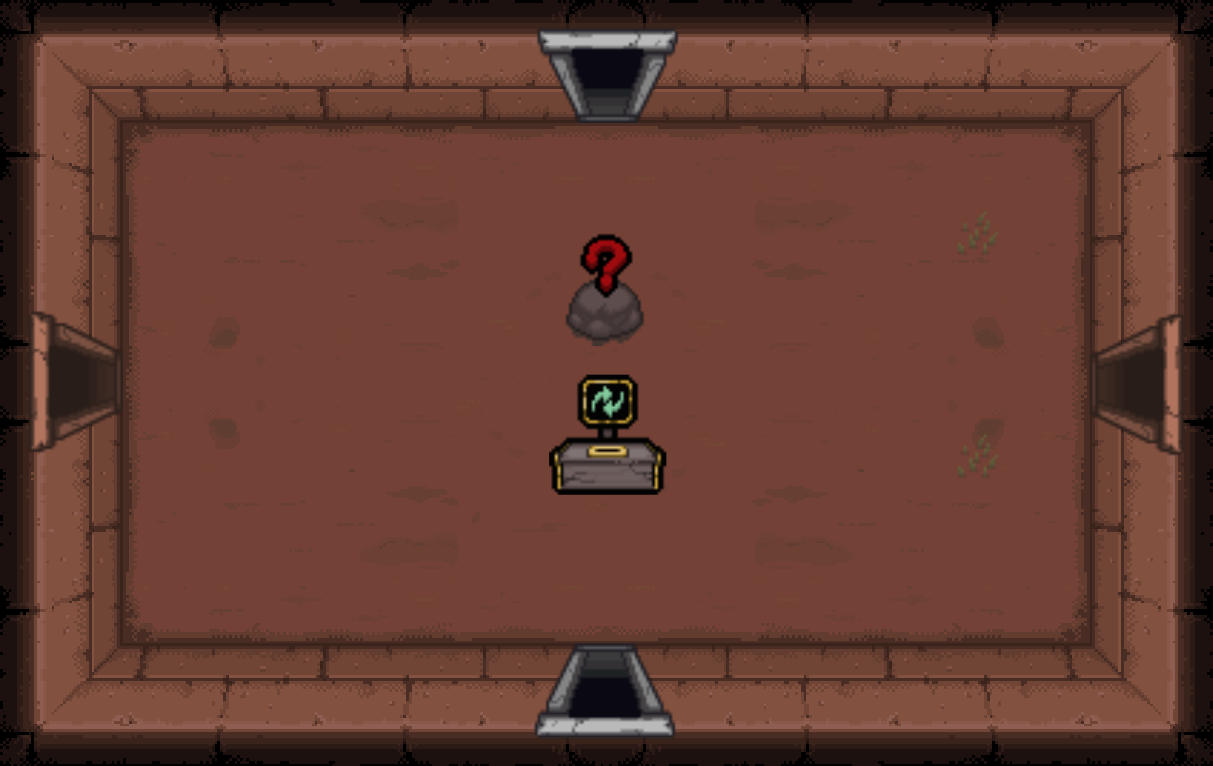
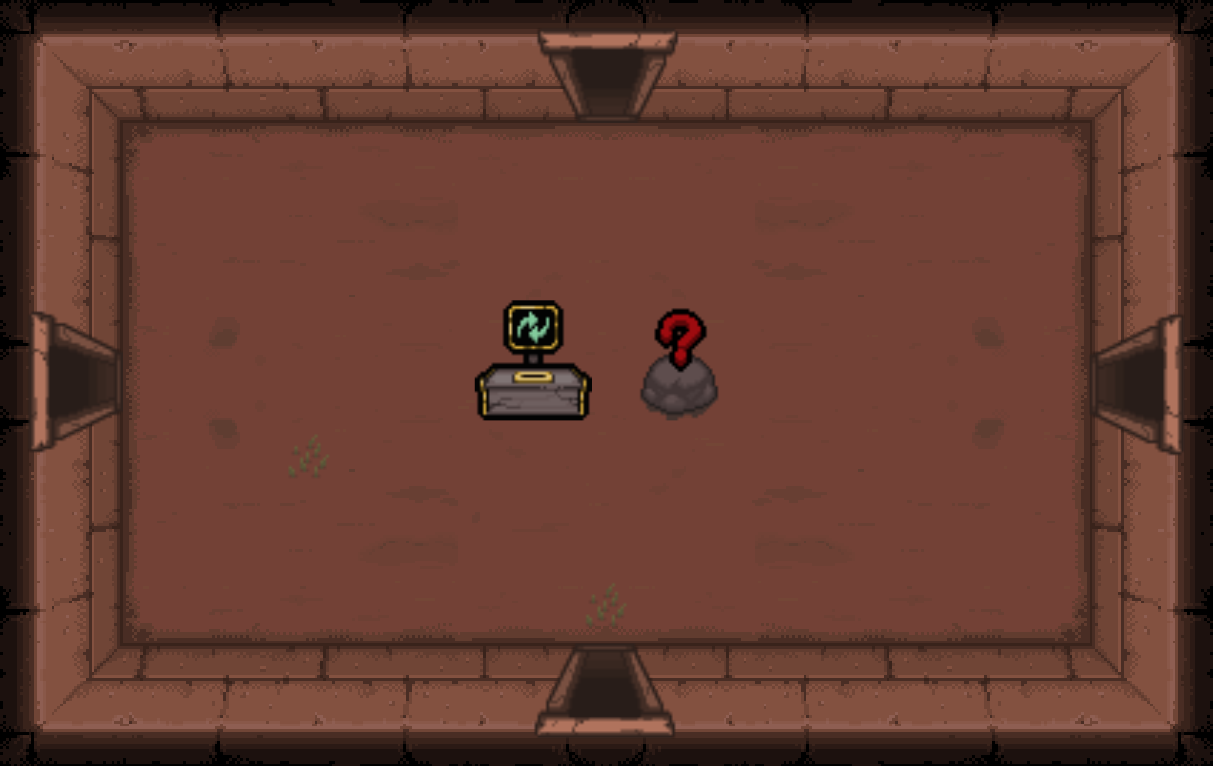
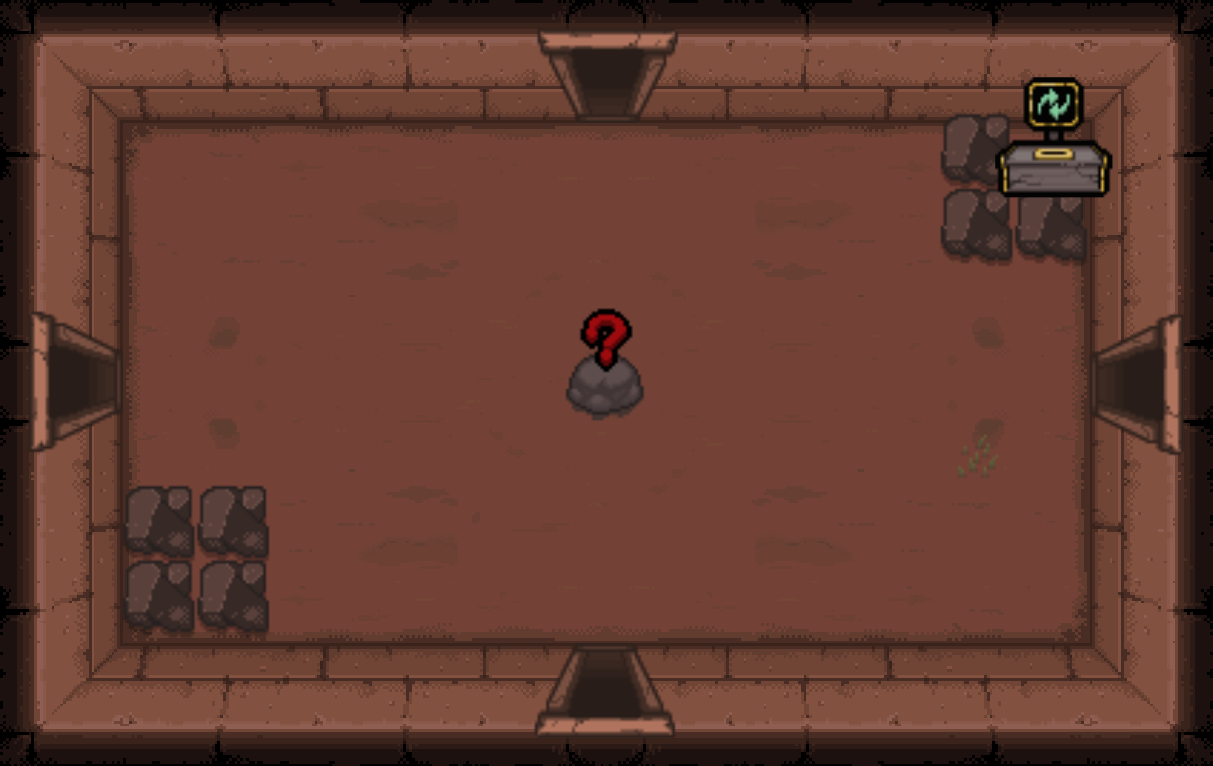
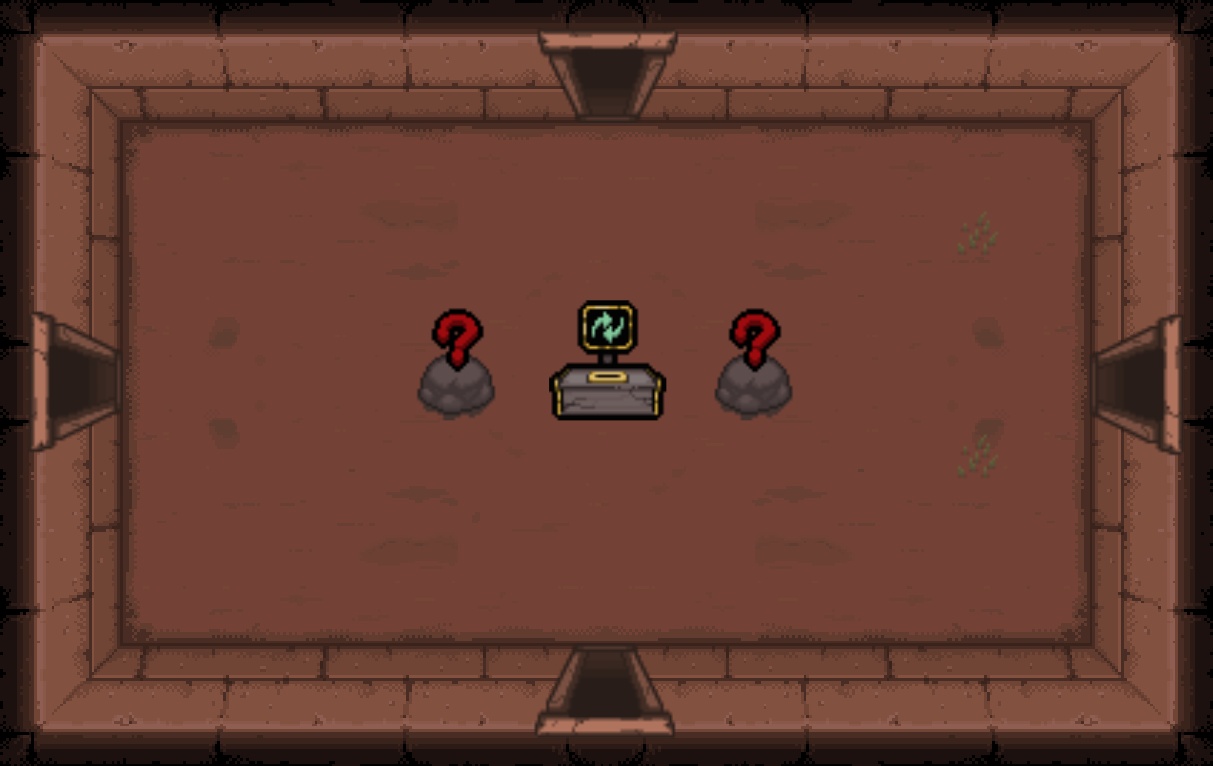
| − | * Treasure rooms may also contain a [[ |
+ | * Treasure rooms may also contain a [[Restock Machine]], allowing Isaac to re-roll offered items if he has coins or bombs. |
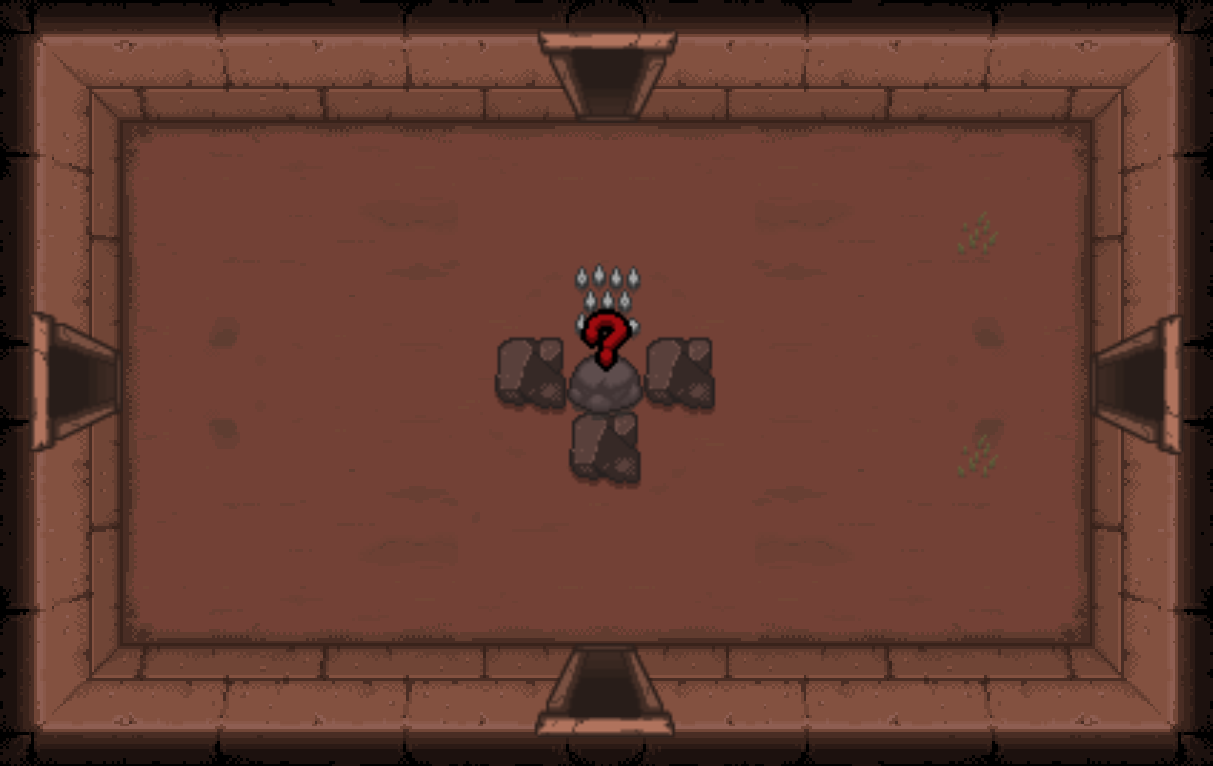
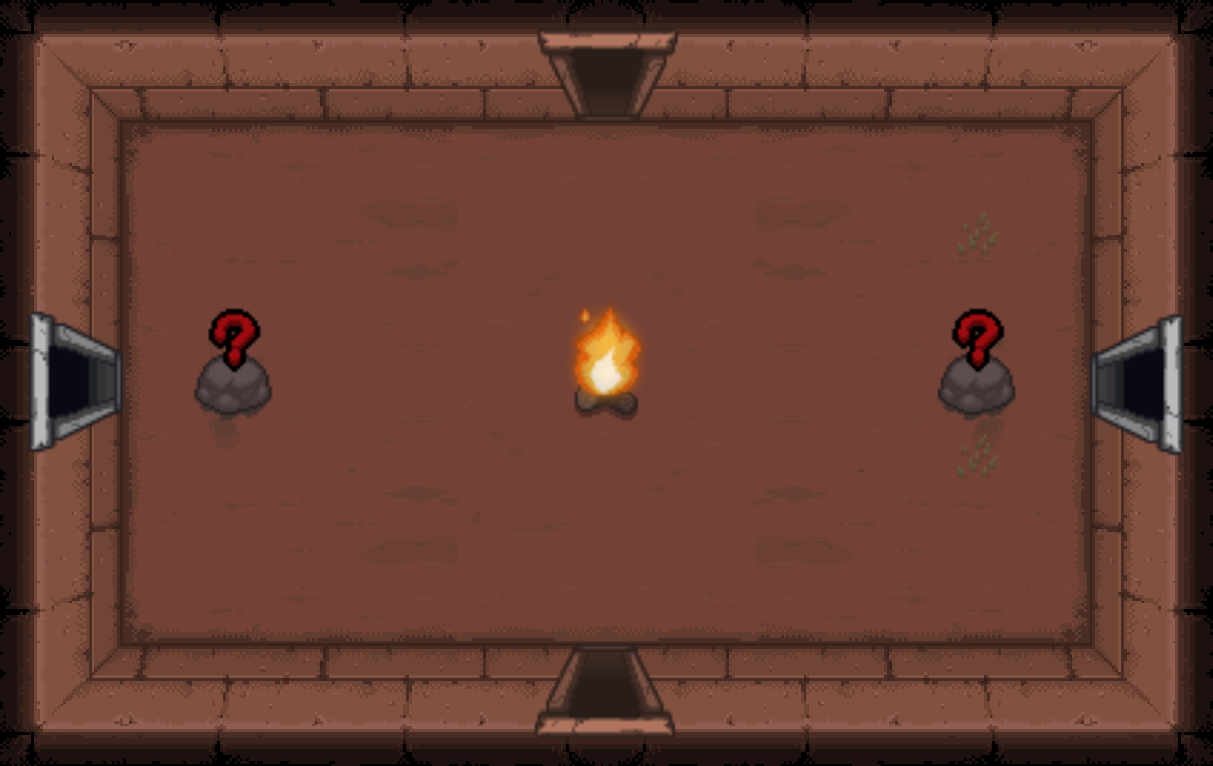
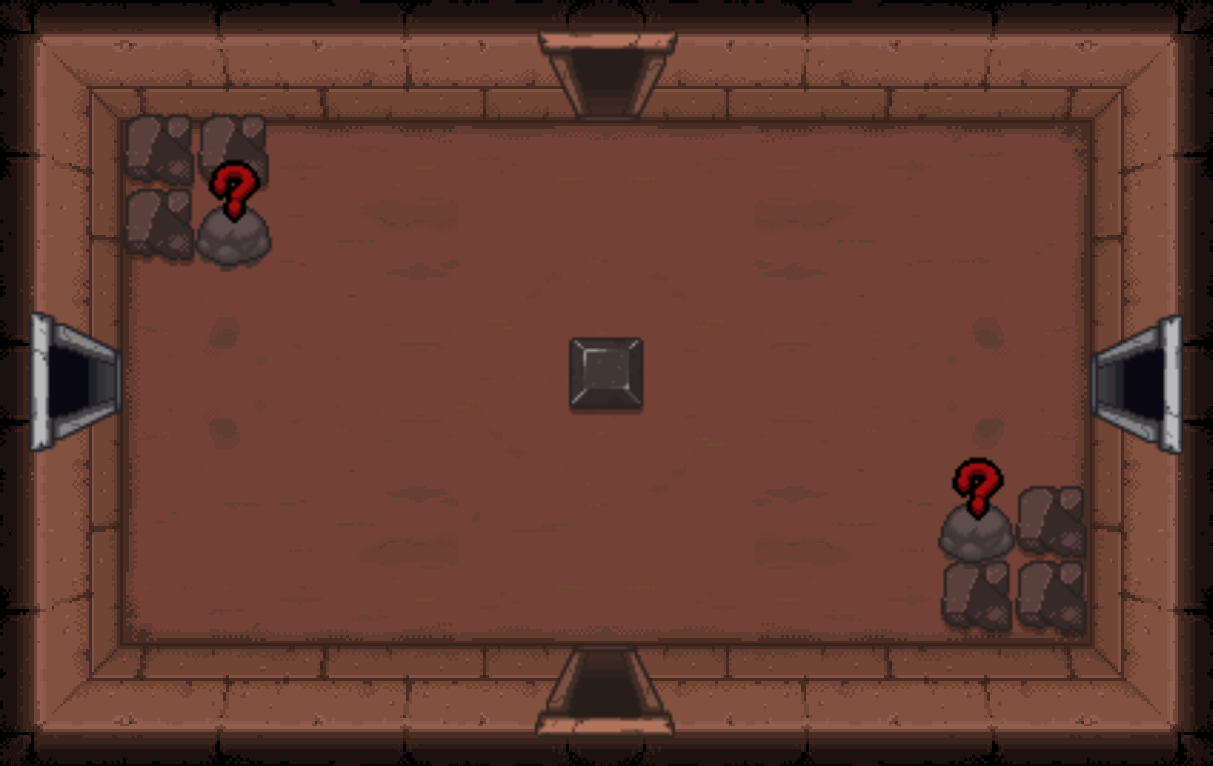
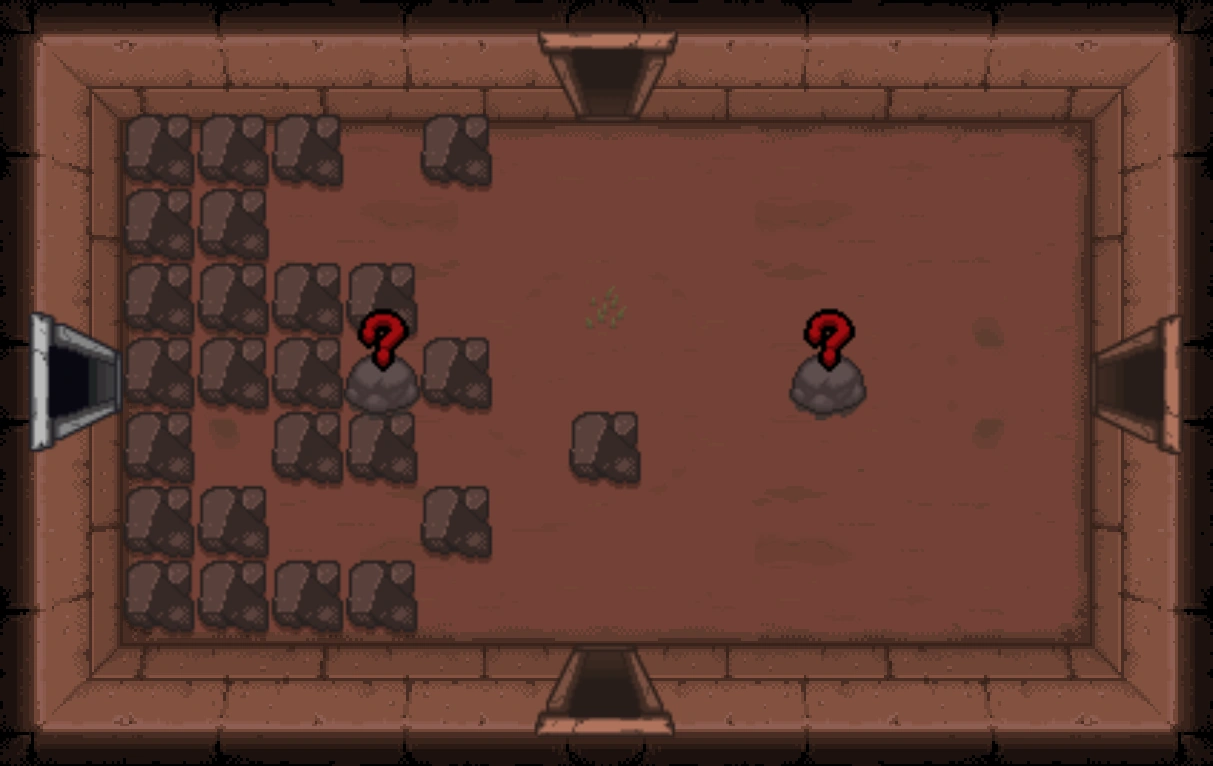
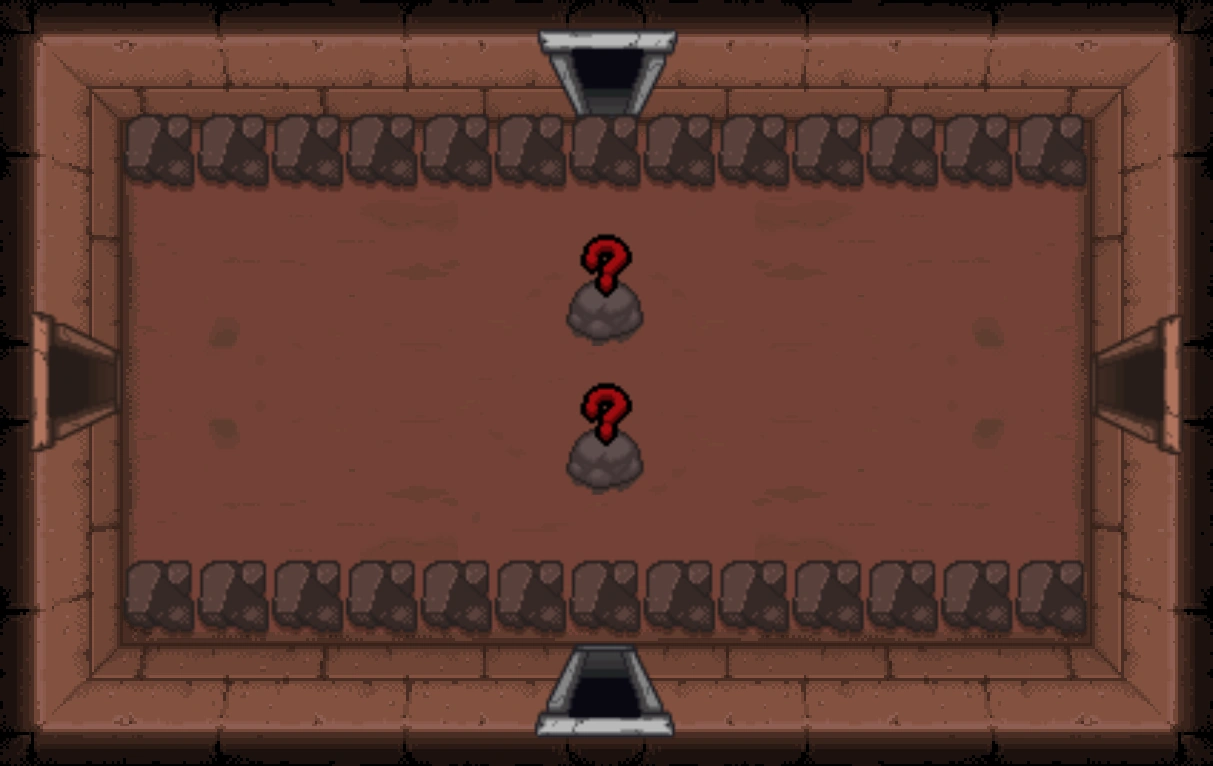
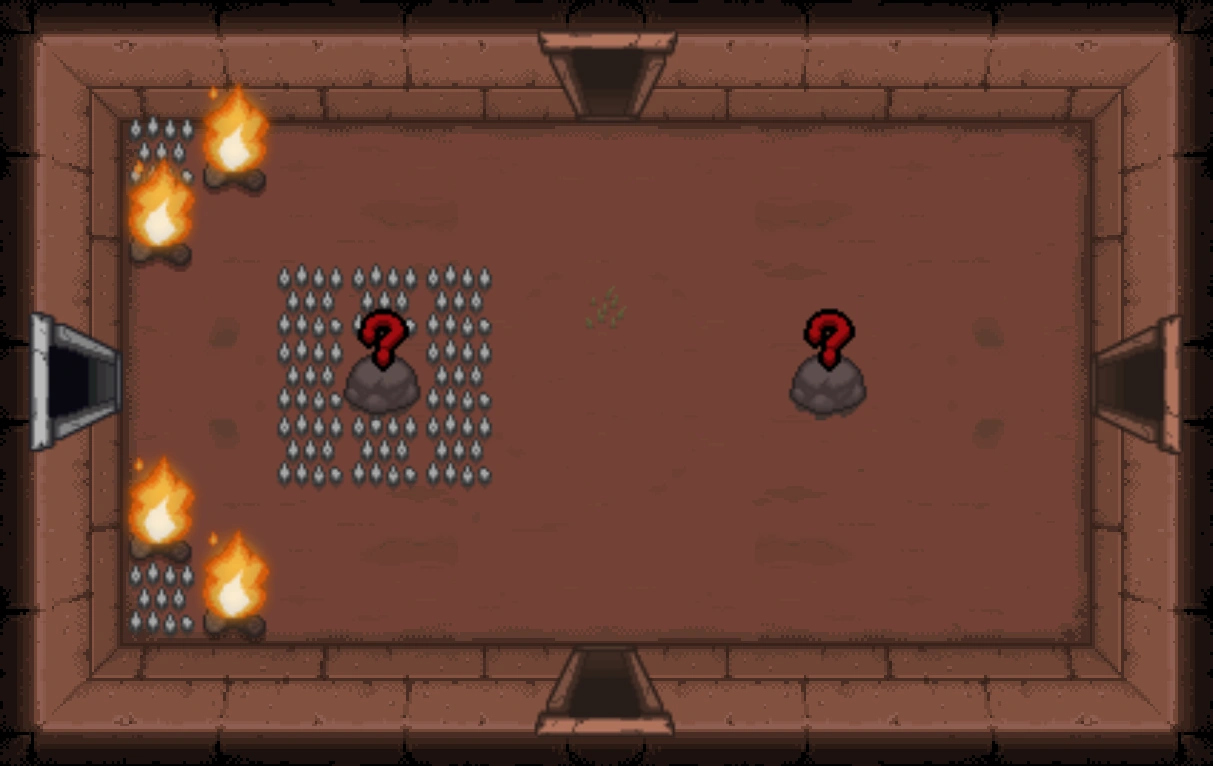
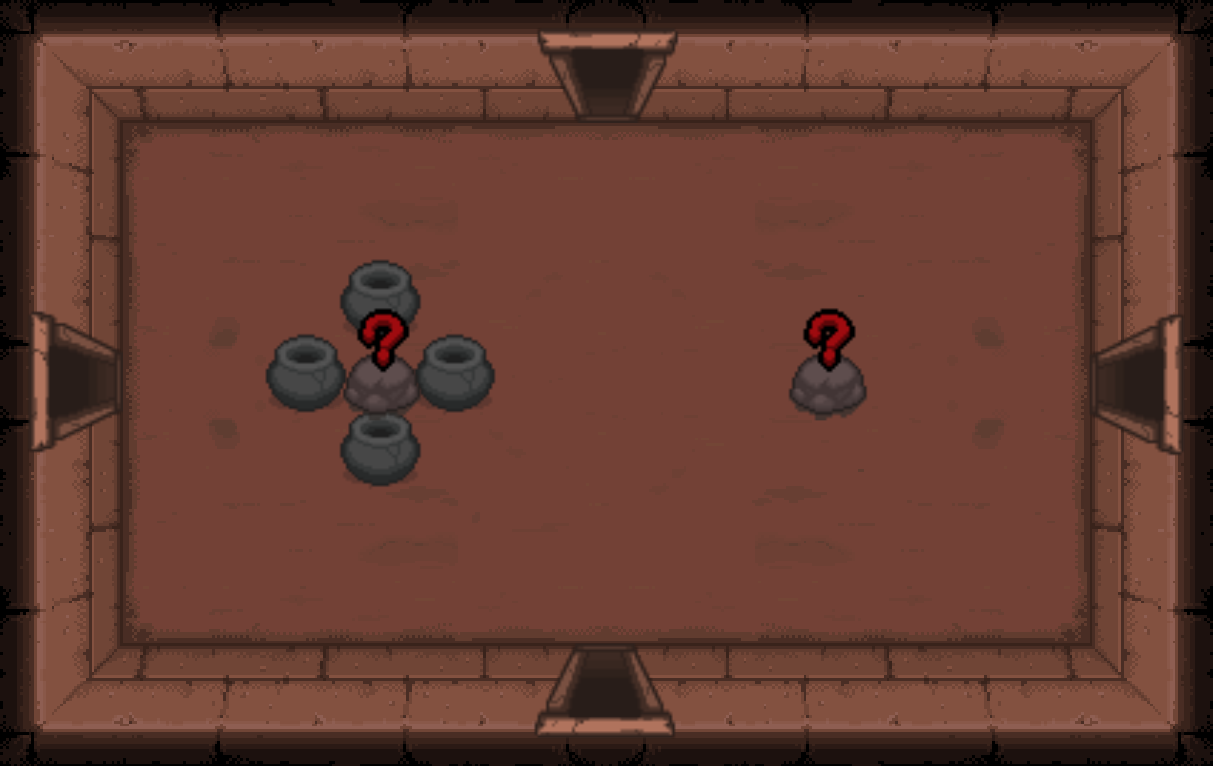
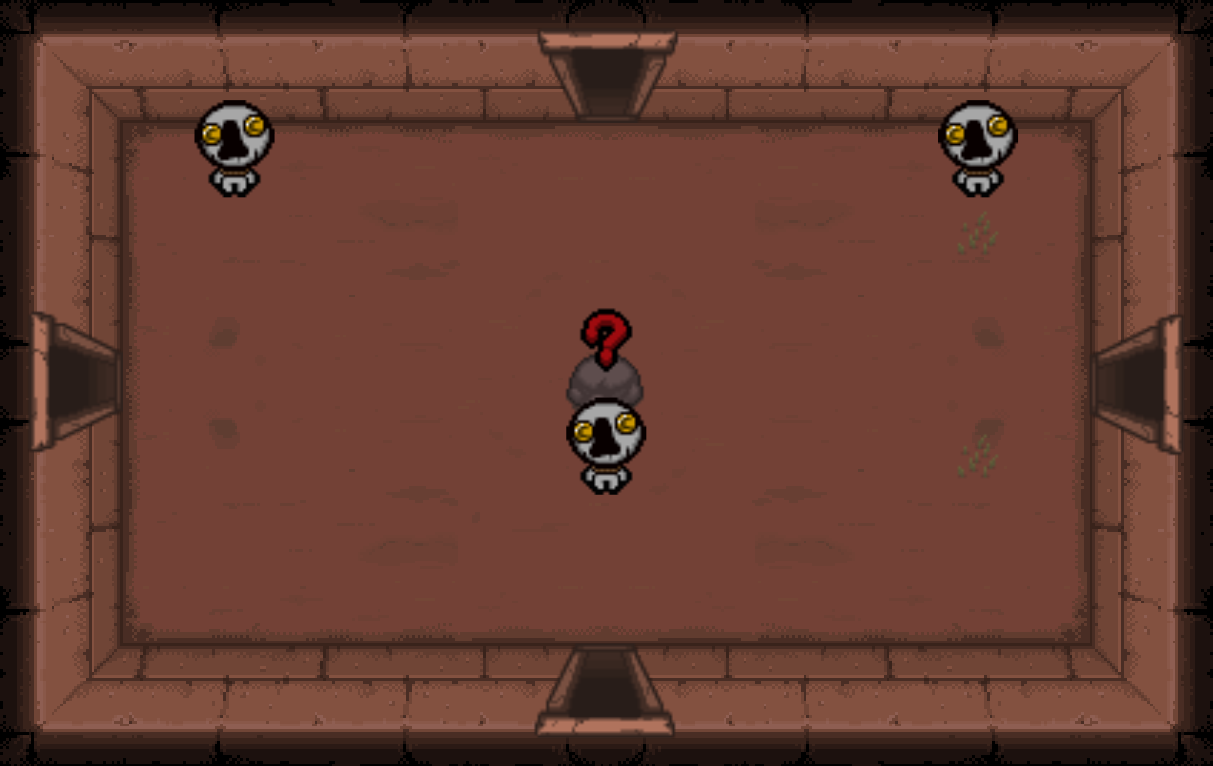
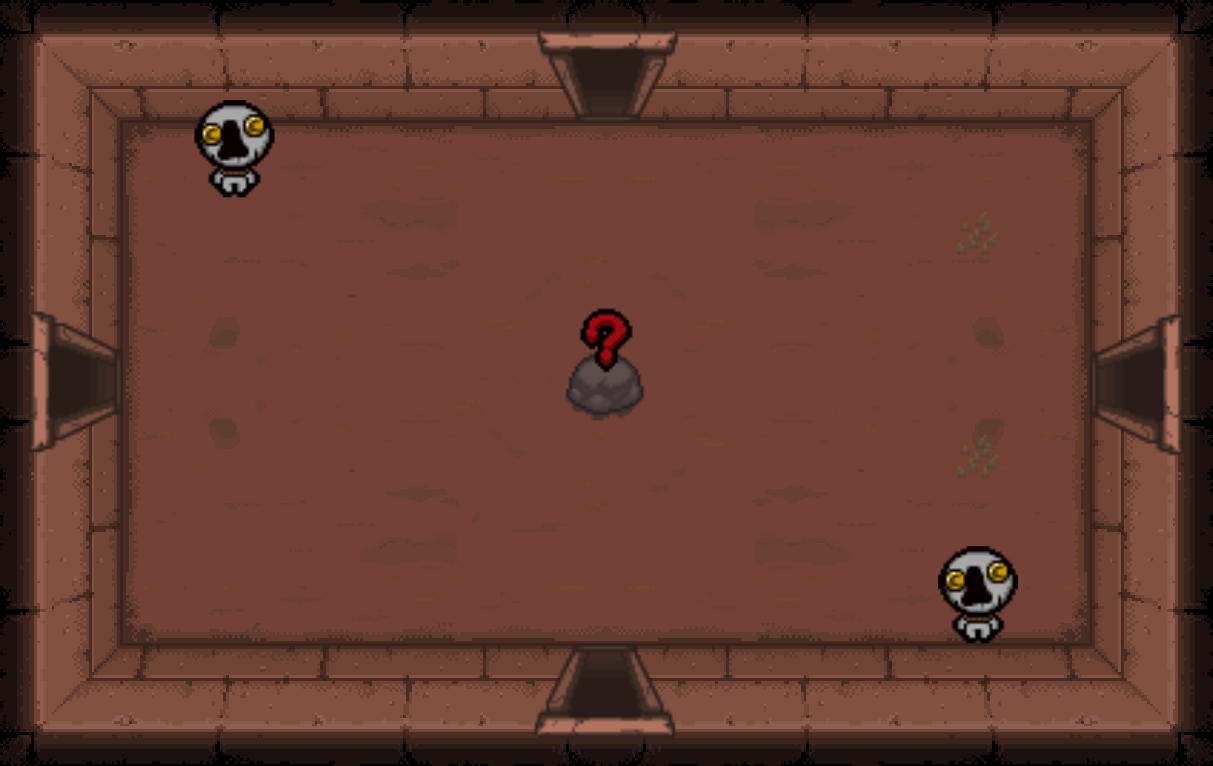
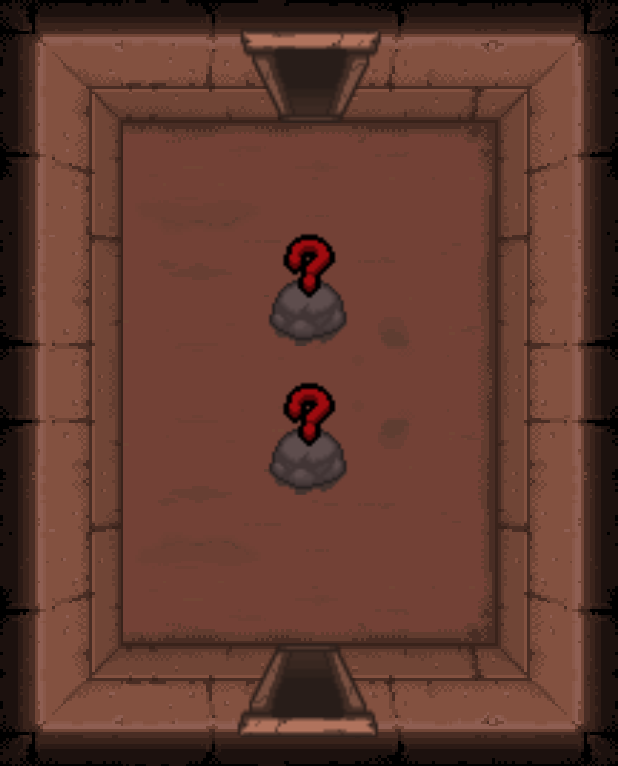
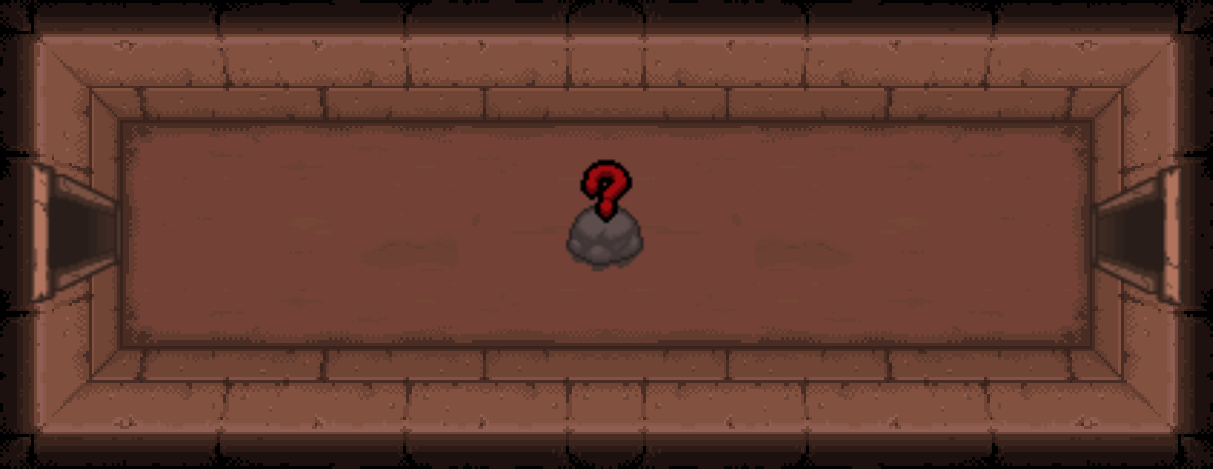
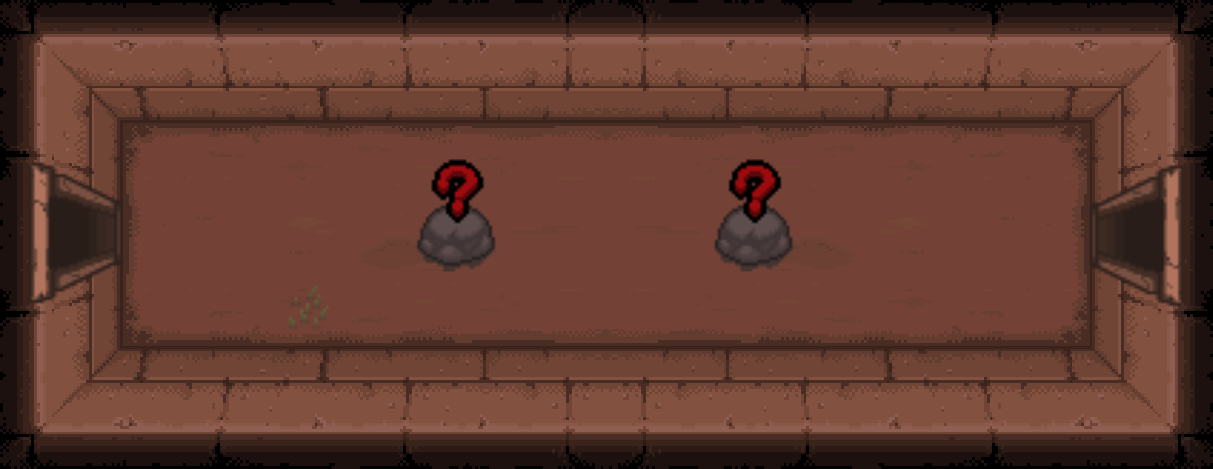
* New layouts: |
* New layouts: |
||
[[File:Treasure Room 13.png|200px]][[File:Treasure Room 14.png|200px]][[File:Treasure Room 15.png|200px]][[File:Treasure Room 16.png|200px]][[File:Treasure Room 17.png|200px]][[File:Treasure Room 18.png|200px]][[File:Treasure Room 19.png|200px]][[File:Treasure Room 20.png|200px]][[File:Treasure Room 21.png|200px]][[File:Treasure Room 22.png|200px]][[File:Treasure Room 23.png|200px]][[File:Treasure Room 26.png|200px]][[File:Treasure Room 27.png|200px]][[File:Treasure Room 28.png|200px]][[File:Treasure Room 31.png|200px]][[File:Treasure Room 32.png|200px]][[File:Treasure Room 33.png|200px]][[File:Treasure Room 34.png|200px]][[File:Treasure Room 35.png|200px]][[File:Treasure Room 36.png|200px]][[File:Treasure Room 37.png|200px]][[File:Treasure Room 38.png|200px]][[File:Treasure Room 39.png|200px]][[File:Treasure Room 24.png|102px]][[File:Treasure Room 30.png|102px]][[File:Treasure Room 25.png|200px]][[File:Treasure Room 29.png|200px]] |
[[File:Treasure Room 13.png|200px]][[File:Treasure Room 14.png|200px]][[File:Treasure Room 15.png|200px]][[File:Treasure Room 16.png|200px]][[File:Treasure Room 17.png|200px]][[File:Treasure Room 18.png|200px]][[File:Treasure Room 19.png|200px]][[File:Treasure Room 20.png|200px]][[File:Treasure Room 21.png|200px]][[File:Treasure Room 22.png|200px]][[File:Treasure Room 23.png|200px]][[File:Treasure Room 26.png|200px]][[File:Treasure Room 27.png|200px]][[File:Treasure Room 28.png|200px]][[File:Treasure Room 31.png|200px]][[File:Treasure Room 32.png|200px]][[File:Treasure Room 33.png|200px]][[File:Treasure Room 34.png|200px]][[File:Treasure Room 35.png|200px]][[File:Treasure Room 36.png|200px]][[File:Treasure Room 37.png|200px]][[File:Treasure Room 38.png|200px]][[File:Treasure Room 39.png|200px]][[File:Treasure Room 24.png|102px]][[File:Treasure Room 30.png|102px]][[File:Treasure Room 25.png|200px]][[File:Treasure Room 29.png|200px]] |
||
| Line 348: | Line 359: | ||
* When not having red hearts in [[Devil Room]], the price of items switches to soul hearts. |
* When not having red hearts in [[Devil Room]], the price of items switches to soul hearts. |
||
* [[Krampus]] has a new attack pattern. |
* [[Krampus]] has a new attack pattern. |
||
| − | *The floor icons on the stage transition sprites are updated; instead of being large rectangles with the unknown ones being grey, the sprites feature a much thinner and more detailed border with the unknown floors being represented by a closed trap door. |
+ | * The floor icons on the stage transition sprites are updated; instead of being large rectangles with the unknown ones being grey, the sprites feature a much thinner and more detailed border with the unknown floors being represented by a closed trap door. |
Revision as of 00:36, 21 July 2020
Player
Characters
- His mini-brimstone's range can be increased with range up items or pills.
- He is unlocked by dying in a Sacrifice Room while holding
 Missing Poster.
Items
Activated Collectibles
- The head deals 3 times Isaac's tear damage as poison over time instead of either 6 or 8 points.
- Increases the chance to open the Devil Room or Angel Room by 12.5% after killing a boss while holding it instead of guaranteeing it.
- Increases chance for a Devil/Angel Room Door to open by 17.5% instead of 35%.
- Knocks back enemy shots.
- The beams have a high chance to directly target enemies.
- Previously held items are removed from the pause menu.
- Reroll an item after defeating The Fallen no longer replace the Devil Room item he drops to a random item from the normal boss item pool.
- Fly enemies are only rerolled into other fly enemies.
- Red flies can't be rerolled anymore (even though enemies can be rerolled into them).
- Floods the whole room with water.
- Flushes all poop-related enemies and bosses away.
- The ladders are covered in water but the walls are not when used inside a crawl space.
- Can no longer be used without red heart containers.
- Has a 50% chance to rotate all beams around the player 90 degrees, similar to Krampus' second Brimstone attack.
- Sprite changed.
- Does not affect if Monstro is in the room the item is used in.
- Knocks back enemy shots.
- Its recharge time is 2 rooms instead of 6 rooms.
- Dark Room can no longer be cleared repeatedly.
Passive Collectibles
- Sprite changed.
- The type of randomized tear changes every 2–3 seconds. The item appears to select two tear effects at once, perhaps staggering the times at which each of those effects change.
- If a run is quit, and then continued, 3 Dollar Bill will keep tear effects for the current room.
- Shoots tears towards Isaac regardless of which direction Isaac is shooting.
- Blocks enemy shots.
- Bob's Brain is fired directly from where it is located in the chain of familiars behind Isaac, making aiming it slightly more difficult.
- Each copy takes up its own spot on the familiar line, but only the first one launches out. Respawning brains may end up stacking on top of each other.
- Can drop a Golden Bomb.
- Can drop a Golden Bomb.
- Each tear deals Isaac's tear damage.
- The poison hits twice, dealing a total of double Isaac's damage.
- Each bomb deals 5 times the character's normal tear damage instead of 3, plus a flat 30 damage. The flat 30 is not affected by damage multipliers.
- Isaac gives a wide glow lighting up dark areas, such as those under the effects of the Curse of Darkness or the Dark One's attacks.
- Brimstone shots damage the heart.
- Nullifies effects of One Makes You Small pills, One Makes You Larger pills, and other items that decrease the size of Isaac, such as Caffeine Pill.
- Gives a shield to familiar's tears.
- Speed boost is applied immediately.
- Range and tears height buffs are applied immediately.
- If picked up twice in the same run, two knives are fired at once.
- Dies after taking too much damage and then respawns after a long time. Exiting and continuing the run will cause it to reappear right away.
- Dies instantly by enemies' beam-type attacks, such as Uriel's and Gabriel's beam. This also includes enemies' Technology lasers such as Eye and Camillo Jr..
- Reappears instantly each time a familiar or orbital item is picked up.
- The poison hits twice, dealing a total of double Isaac's damage.
- Having multiple Steam Sales reduces all shop prices to 0 coins.
- Causes the Deals with the Devil not to convert the heart-type automatically.
- The slow is only applied after the player is hit.
- Isaac's bombs are magnetically attracted to the player character's tears.
- The laser can have the effect of Mysterious Liquid or Rubber Cement.
- Each poison hit deals damage equal to Isaac's tear damage instead of 4 or 6 damage.
- Enemies killed after they have been inflicted with this type of poison have a 20% chance to drop Black Hearts.
Trinkets
- Can replace the Tick.
- No longer displays a particular puzzle piece on the last will screen if Isaac dies in a Sacrifice Room while holding it.
- Dying in a Sacrifice Room while holding it unlock The Lost, regardless of the current character.
- If The Lost was already unlocked, Isaac will be revived as The Lost and Missing Poster will be consumed.
- If the player's character is already The Lost, he will be revived in the previous room and Missing Poster will be consumed.
- Small chance to revive Isaac as The Lost upon death, like Missing Poster.
- Can be replaced by Match Stick.
Interactions
|
Pickups
Bombs
- Troll Bombs are now given a random amount of time before exploding. Before that, they always exploded at a fixed time. This means that if two Troll Bombs spawn at the exact time right next to each other, there's a high chance one Troll Bomb will blow up before the other, sending that Troll Bomb sliding outwards a bit before exploding.
Entities
Monsters
- Only leaves behind bones when killed.
Environment
Rooms
- Double Trouble boss rooms can now contain 2 bosses of different types. Additionally, they can appear as early as chapter 1.
- Can contain a Bed, a Key Master and 3 hanging dead Shopkeepers.
- New layouts:
- Possible rewards found in the room include:
- 2 Eternal Chests
- 1 Eternal Heart, and 4 Soul Hearts behind Key Blocks
 6 coins
- 2 Soul Hearts and 1 Gold Heart.
- Urns might spawn in the room.
- Killing Key Key Master and Shell Game Beggar no longer applies the 25% bonus.
- Donating to a Beggar until it pays out with an item on the current floor applies a 10% bonus instead of 25%.
- Donating to a Devil Beggar until it pays out with an item on the current floor applies a 10% bonus instead of 25%.
- If this coin flip succeeds, a Devil Room will be generated regardless of the above coin flips.
- "You feel blessed!" fortune in the Sacrifice Room of the current floor applies a bonus:
- If the "You feel blessed!" fortune appeared on the 3rd sacrifice, the chance will be 15%.
- If the "You feel blessed!" fortune appeared on the 5th sacrifice, the chance will be 50%.
- If both "You feel blessed!" fortunes appeared, the chance will be 65%.
- Angel Rooms that spawn after Isaac defeats Mom's Heart or It Lives will be normal Angel Rooms with items or pickups.
- A Troll Bomb can sometimes appear behind the Angel Statue, blowing it up. If the Angel fights have been unlocked, this will begin the boss fight if the player is not careful or quick enough to move the bomb.
- The clean bedroom occasionally has two clean beds instead of one.
- The trapdoor in a dirty bedroom has a chance to lead to a Crawl Space.
- Occasionally, one Rag Man will spawn inside the dirty bedroom.
- There is a chance that there will only be 2 items to choose from. Additionally, items may be trapped behind rocks or spikes. Items may appear in the corners of the room instead of the center.
- All 15 waves are randomized. Each wave spawns two random bosses from the list. Each boss can only appear once per Boss Rush.
- Brownie, Dangle, Dark One, Dingle, 3x Gurglings, Little Horn, Mega Fatty, Mega Maw, Polycephalus, Rag Man, The Adversary, The Cage, The Forsaken, The Frail, The Gate, The Haunt, The Stain, and 3x Turdlings can appear in the Boss Rush.
- The angels Uriel and Gabriel can also appear.
- New layouts:
- If a sack spawns for whatever reason, picking it up will start the Boss Rush. The player can still pick up one of the pedestal items.
- Black Market can no longer be accessed in The Chest and The Dark Room, and therefore cannot be used to collect more items.
- Can contain Reward Plates, cards, runes, Black Globin's Heads, Imps, and/or Nulls.
- The three waves appear in random orders rather than the original orders.
- The payouts only depend on the number of sacrifices made. The number of sacrifices is reset to 0 when the player goes to the next floor.
- Rewards are reworked:
| № of sacrifices on Current Floor | Chance | Reward |
|---|---|---|
| 1st/2nd | 50% | Nothing |
| 50% | 1 Penny | |
| 3rd | 33% | Nothing |
| 67% | "You feel blessed!" (increased chance to receive an Angel Room over a Devil Room for the current floor)
| |
| 4th | 50% | Nothing |
| 50% | 1 random chest (The type of chest is governed by the same mechanic as room drops. Thus, brown chests are more likely to spawn than any other kind of chest.) | |
| 5th | 33% | 3 Pennies (These coins do not have a chance to spawn as a nickel or a dime.) |
| 67% | You feel blessed!" (Same conditions as 3rd sacrifice but a stronger modifier.) | |
| 6th | 33% | Teleport to the Devil/Angel Room. (If the floor's Devil/Angel Room has not been entered yet, an Angel Room is guaranteed to spawn — even if you already took a Devil Deal.) |
| 67% | 1 random chest (The type of chest is governed by the same mechanic as room drops. Thus, brown chests are more likely to spawn than any other kind of chest.) | |
| 7th | 33% | 1 random Angel Room pedestal item. |
| 67% | 1 Soul Heart | |
| 8th | 100% | 6 Troll Bombs |
| 9th | 100% | Uriel battle |
| 10th | 50% | 7 Soul Hearts |
| 50% | 30 Pennies | |
| 11th | 100% | Gabriel battle |
| 12th and onwards | 50% | Nothing |
| 50% | Teleport directly to the Dark Room |
- Losing red hearts due to the spikes will reduce the chance for a Devil Room to appear.
- The amount of luck that the player has does not affect the payout probabilities.
- Angels are normally able to fly over spikes, but will take damage from sacrifice room spikes.
- New layouts:

- Can contain 2 Reward Plates.
- There is a small chance when you bomb the Shopkeeper that they can turn into Greed and start attacking you.
- The Dark Room theme contains 4 Nulls and 6 pills or runes instead of 1 Black Heart.
- New themes:
- Burning Basement: 2 Bomb Chests, a Shopkeeper, 3 TNT, and Fire Places, including Red Fire Places.
- Flooded Caves: black poop and spikes.
- Library: 1 Black Heart.
- I AM ERROR: A Mom's Hand, random pickups, chests, cards, and trinkets.
- There's a rare chance that a treasure room might contains two items to choose from, only one of which can be taken.
- Treasure rooms may also contain a Restock Machine, allowing Isaac to re-roll offered items if he has coins or bombs.
- New layouts:


Other
- When not having red hearts in Devil Room, the price of items switches to soul hearts.
- Krampus has a new attack pattern.
- The floor icons on the stage transition sprites are updated; instead of being large rectangles with the unknown ones being grey, the sprites feature a much thinner and more detailed border with the unknown floors being represented by a closed trap door.